
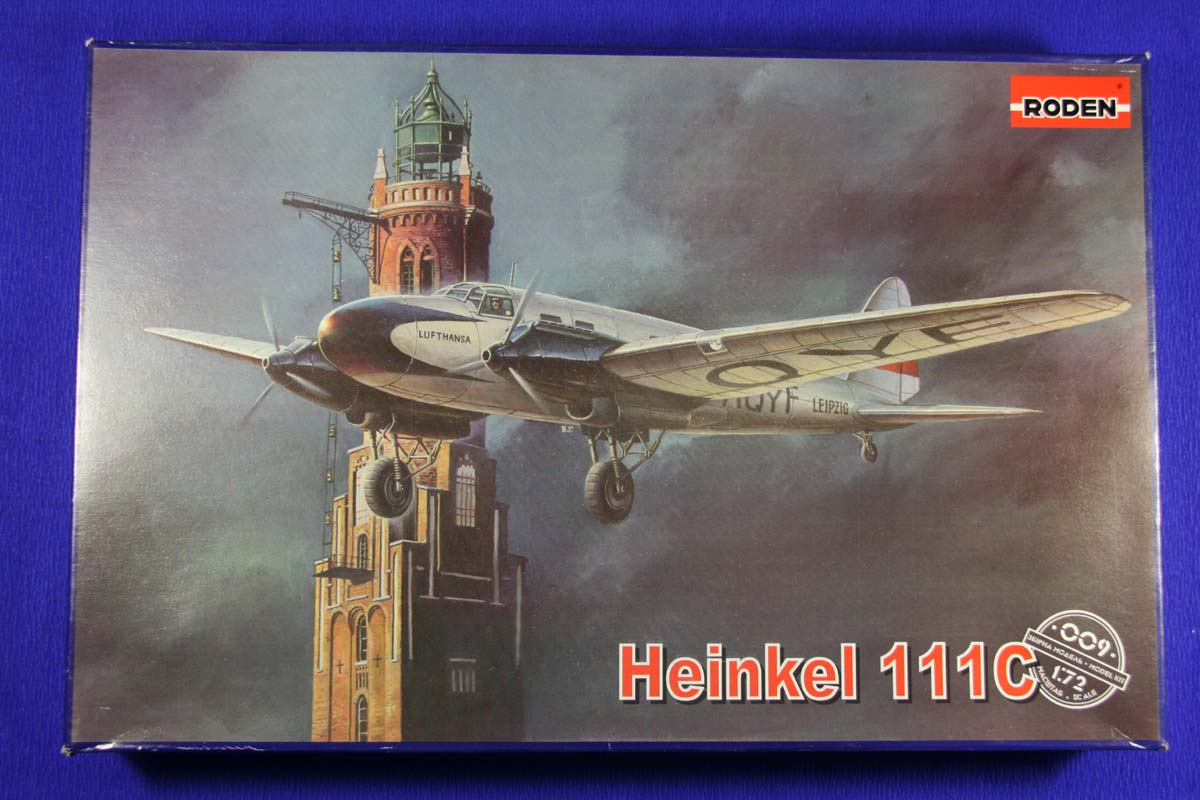
1/72nd plastic scale model kit by Roden
Historical backgroundIn order to extend their fast air-transport fleet, already 1932 Lufthansa ordered from Heinkel a follow up for their elegant model He-70. The new machine, called He-111, should at the same time permit the implementation as a bomber, though - for which this type earned it notoriety over Spain and England. Due to the initial military requirements the aircraft proved finally uneconomical in operation, and played just a minor role with Lufthansa.Starting 1935, Heinkel built two batches for civil usage: first one, called V1 (some sources also quote V4) was the variant He-111c, of which 12 planes were completed. These were equipped with the rather weak BMW VI 6,0 Z engines. Of the second batch, called V4 (or in some sources named He-111G), which was fitted with the DB 601 A-1, only a few units were built. |
|
|
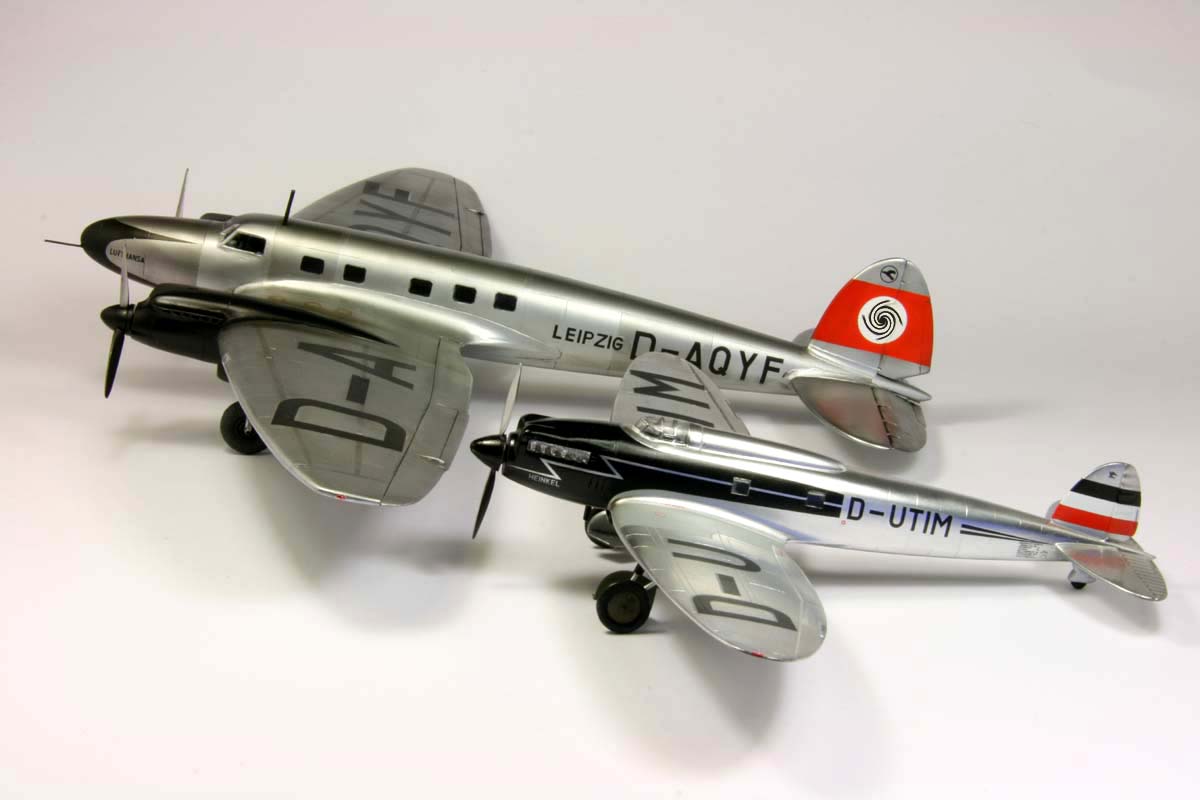
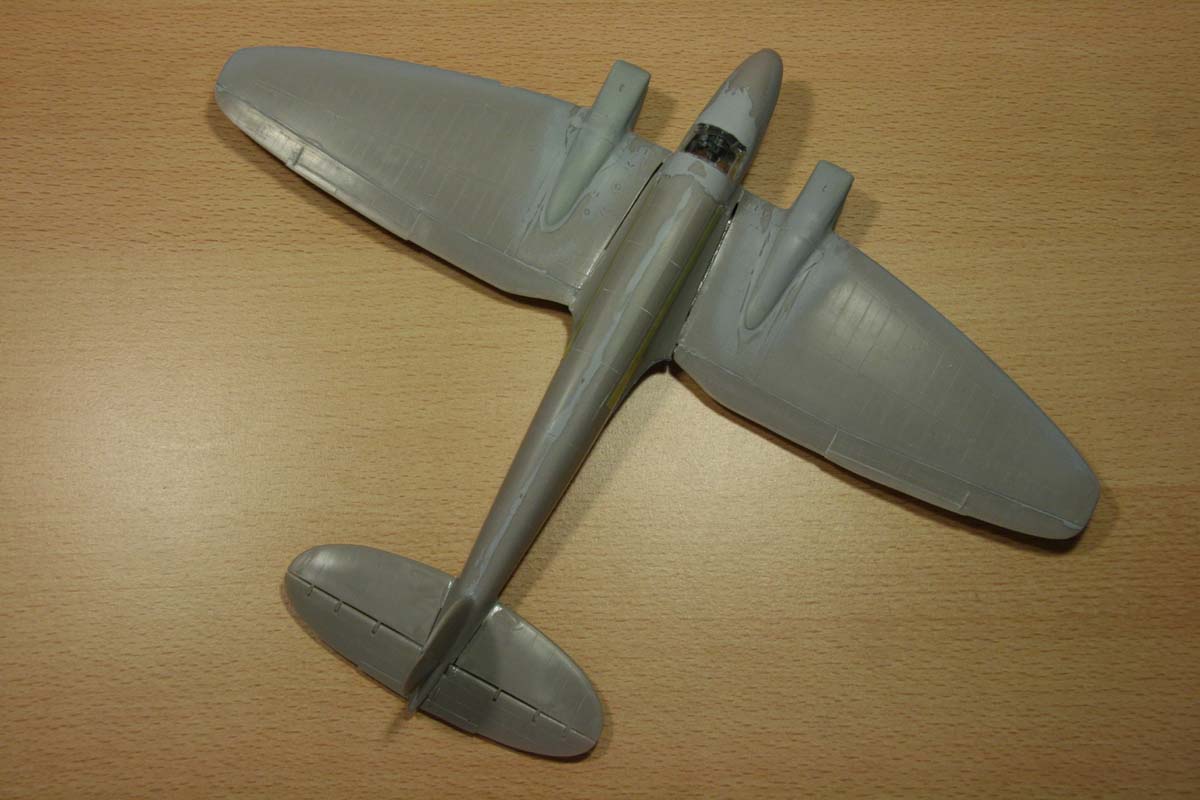
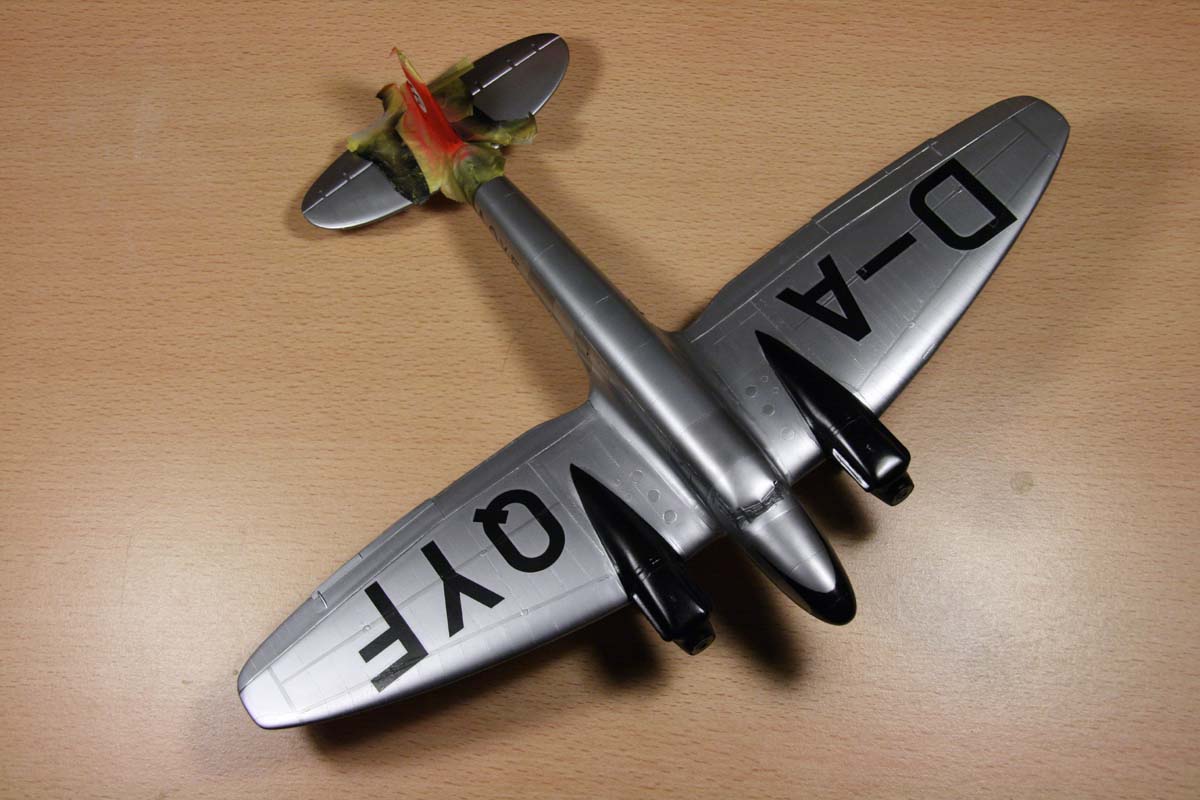
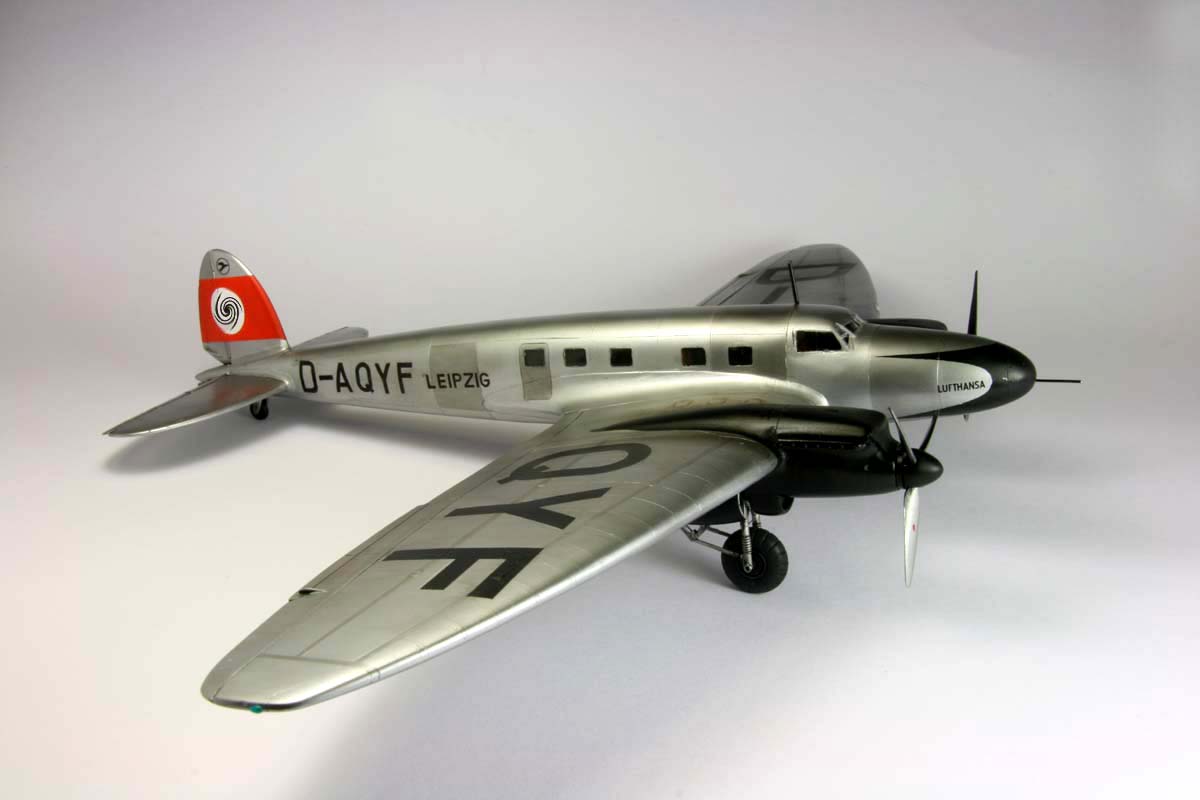
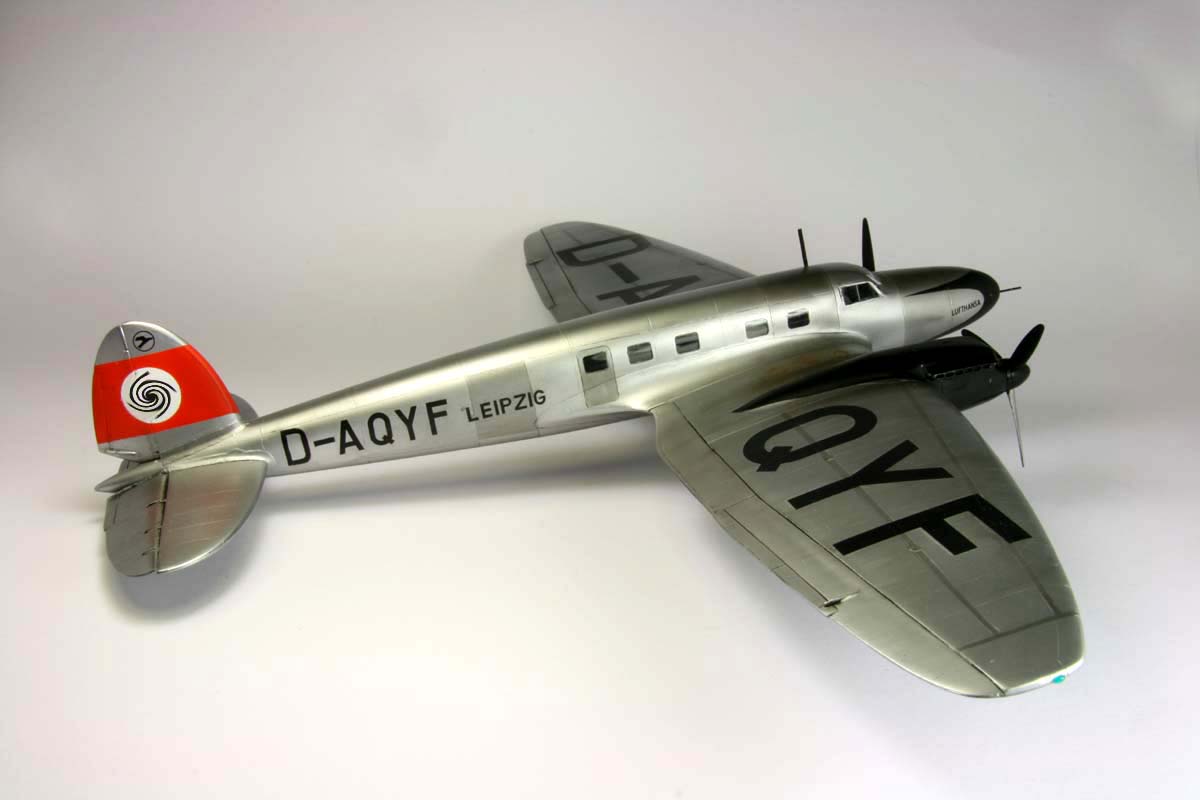
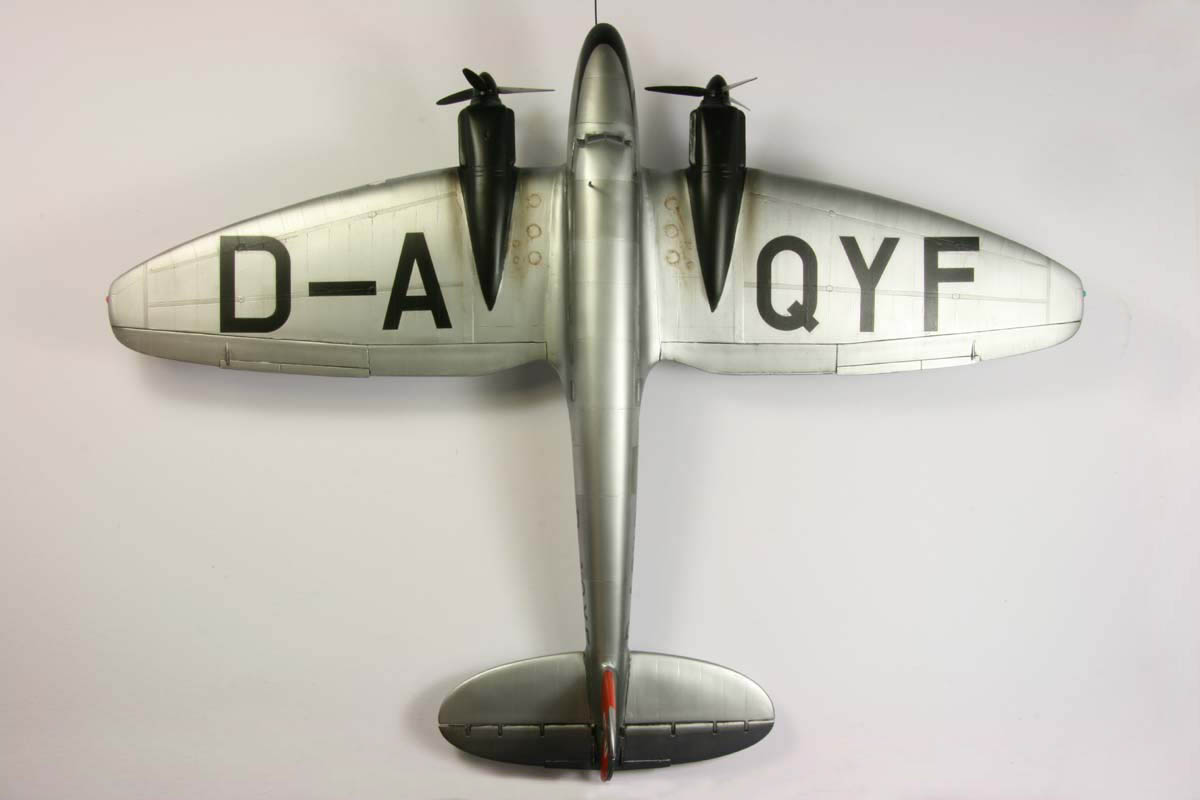
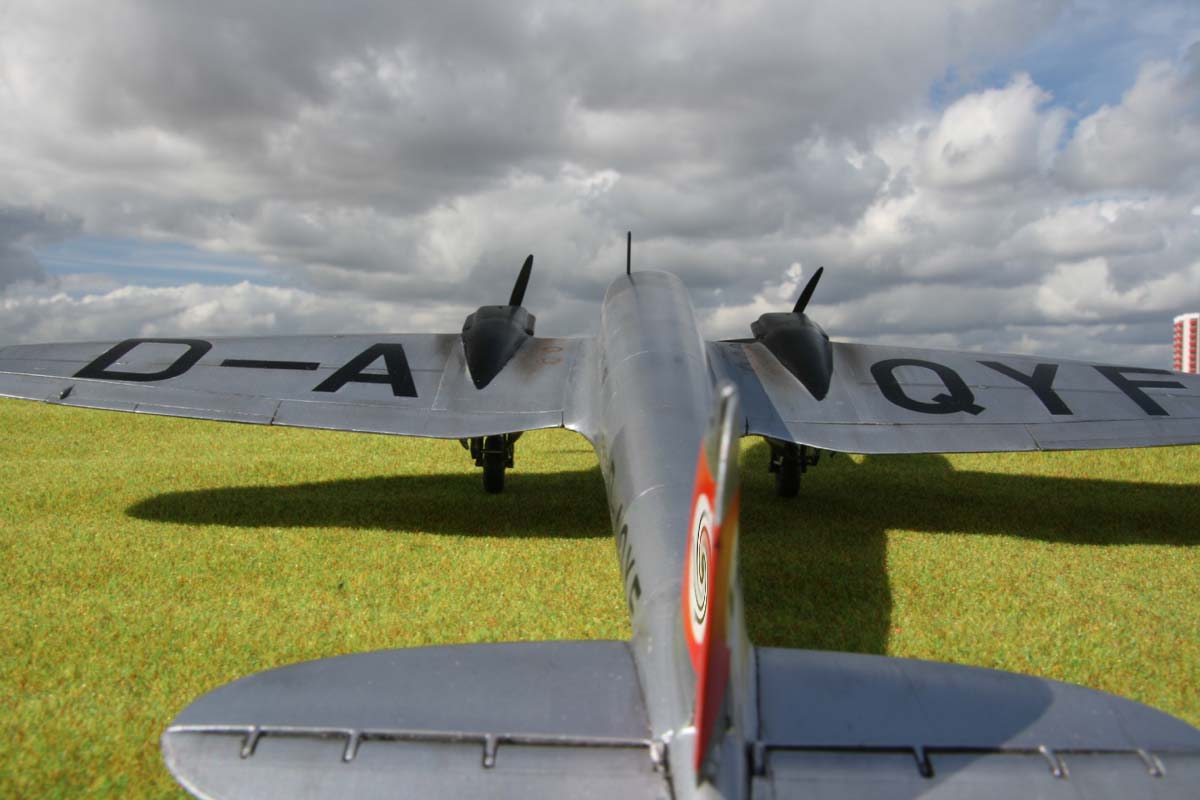
Some aircraft featuring a Lufthansa painting were used by the Rohwel reconnaissance group in Staaken. These machines
were equipped with arrays of cameras and performed – under the pretext of measurement flights – long range recon missions
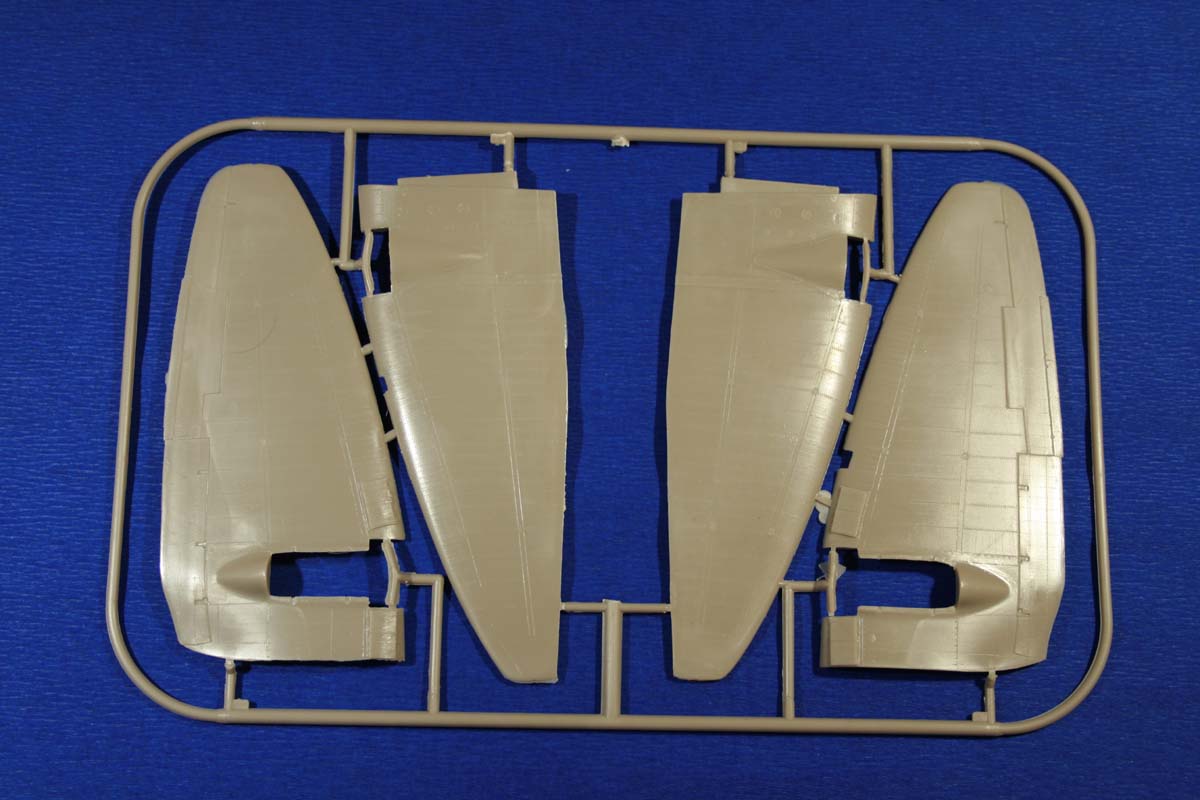
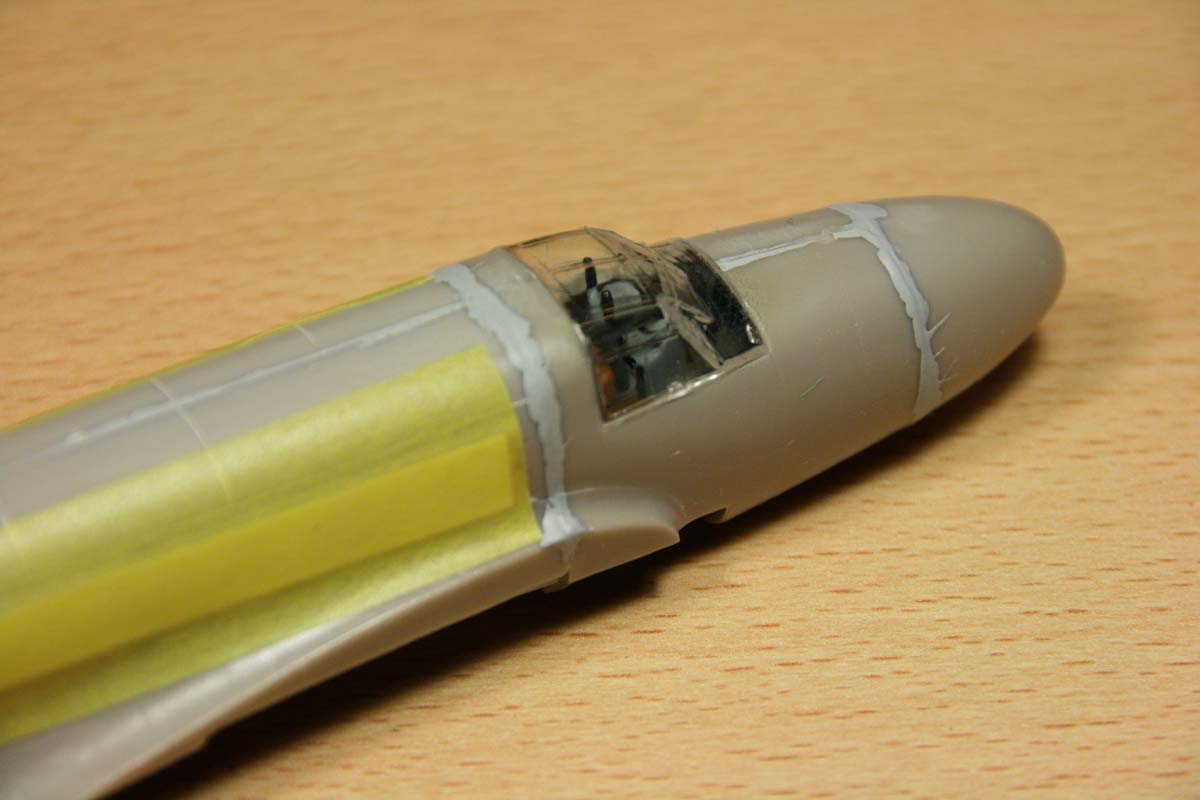
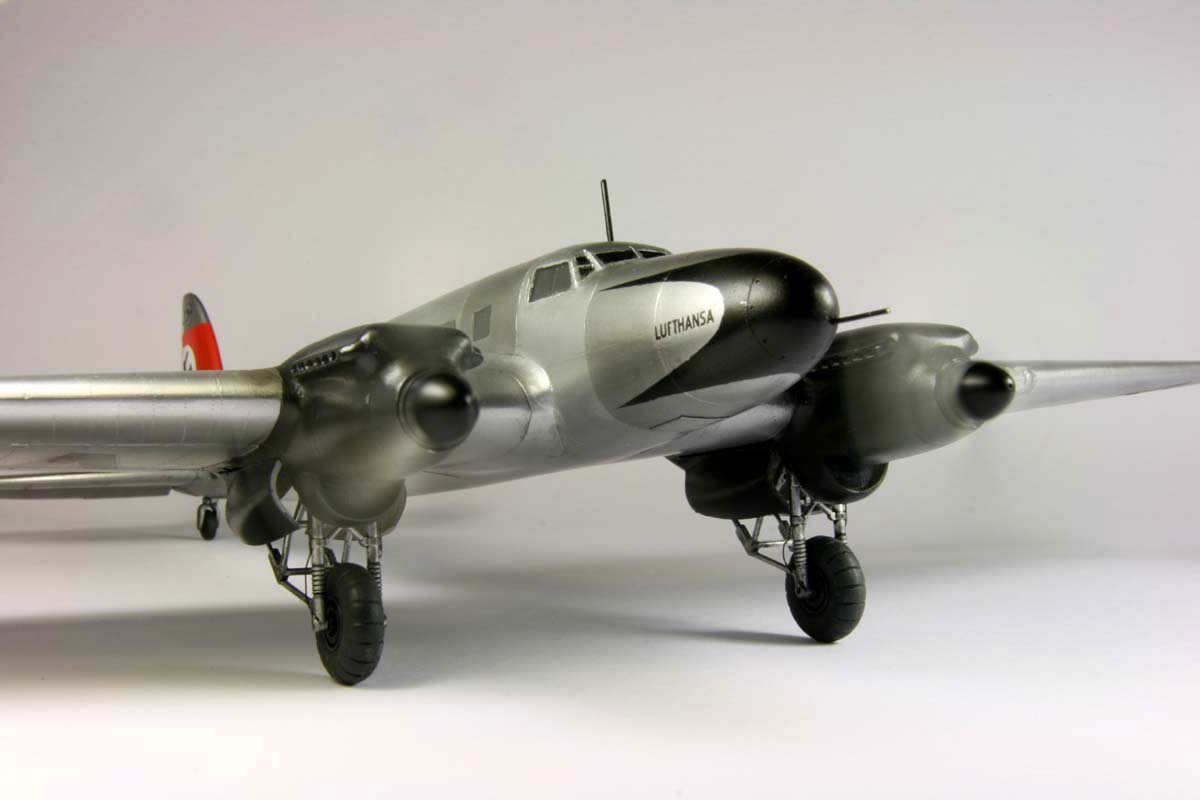
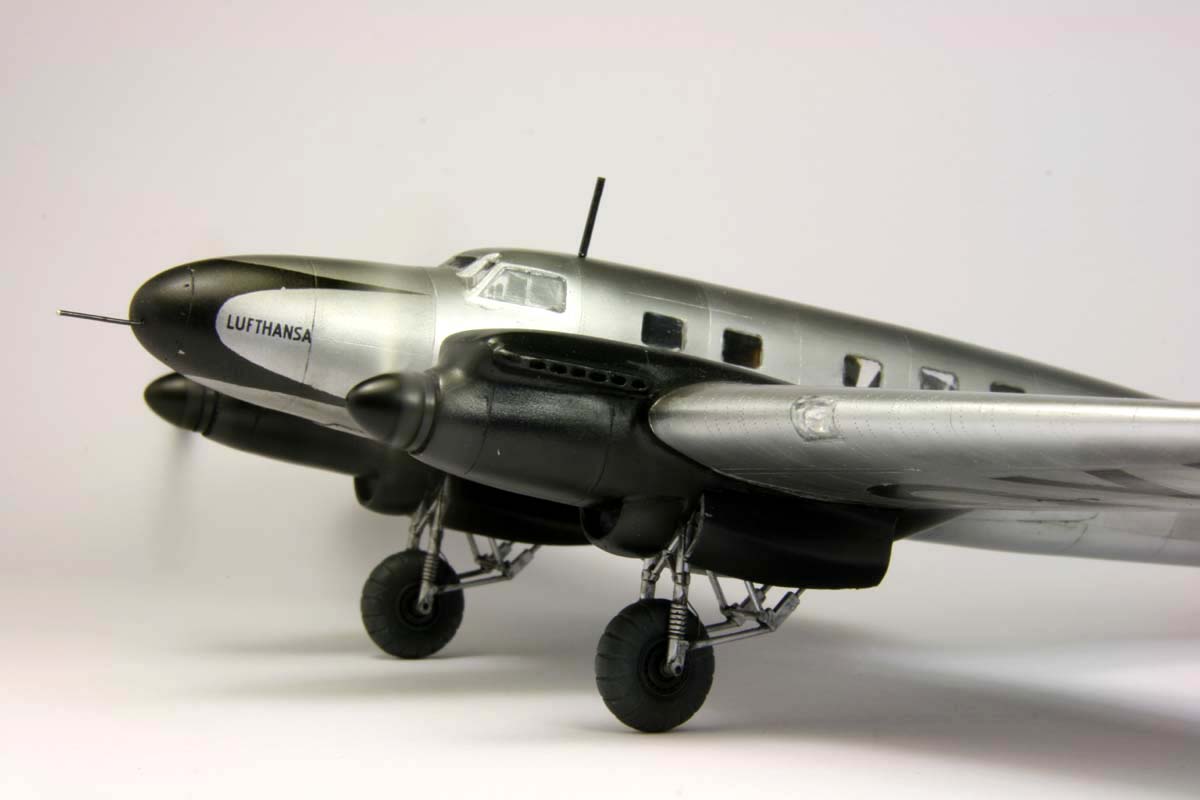
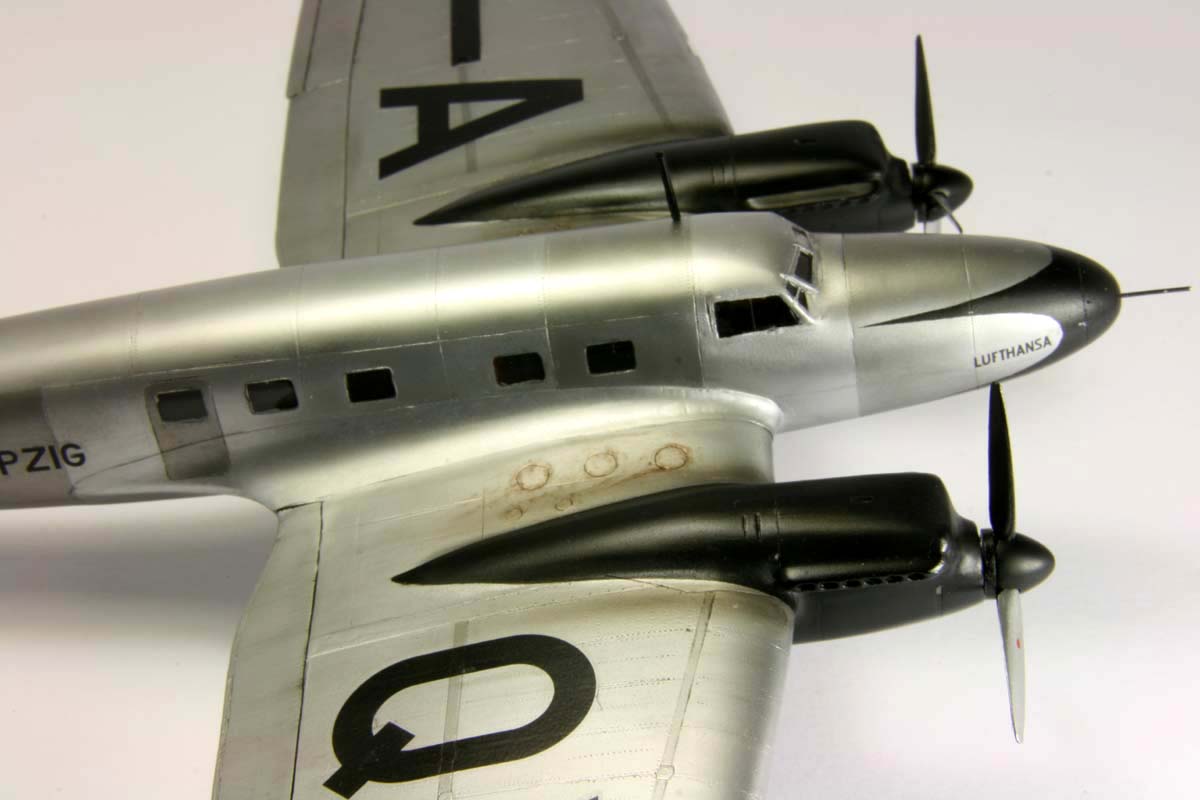
over Soviet Union, England and France. The model features the D-AQYF “Leipzig” W.Nr.001829, a machine of the Lufthansa, from the first construction batch. Roden declares this model as He-111C, which fits the original airplane. Unfortunately the kit does not. According to sources, the variant “C” has wings with rounded tips, which were covered by canvass. The kit clearly features panel lines, rivets and overlapping sheet metal, with cut-off wing-tips. Since some of the early machines were re-fitted with metal wings later, and I could not find any details about the fate of the D-AQYF, I’m left to believe that this machine was subject to re-furbishing. Another large deviation is also the canopy: photos of the original clearly show the roof of the cabin being sheet metal, and not glazed pane as in the model. |
|
 |
|---|---|
|
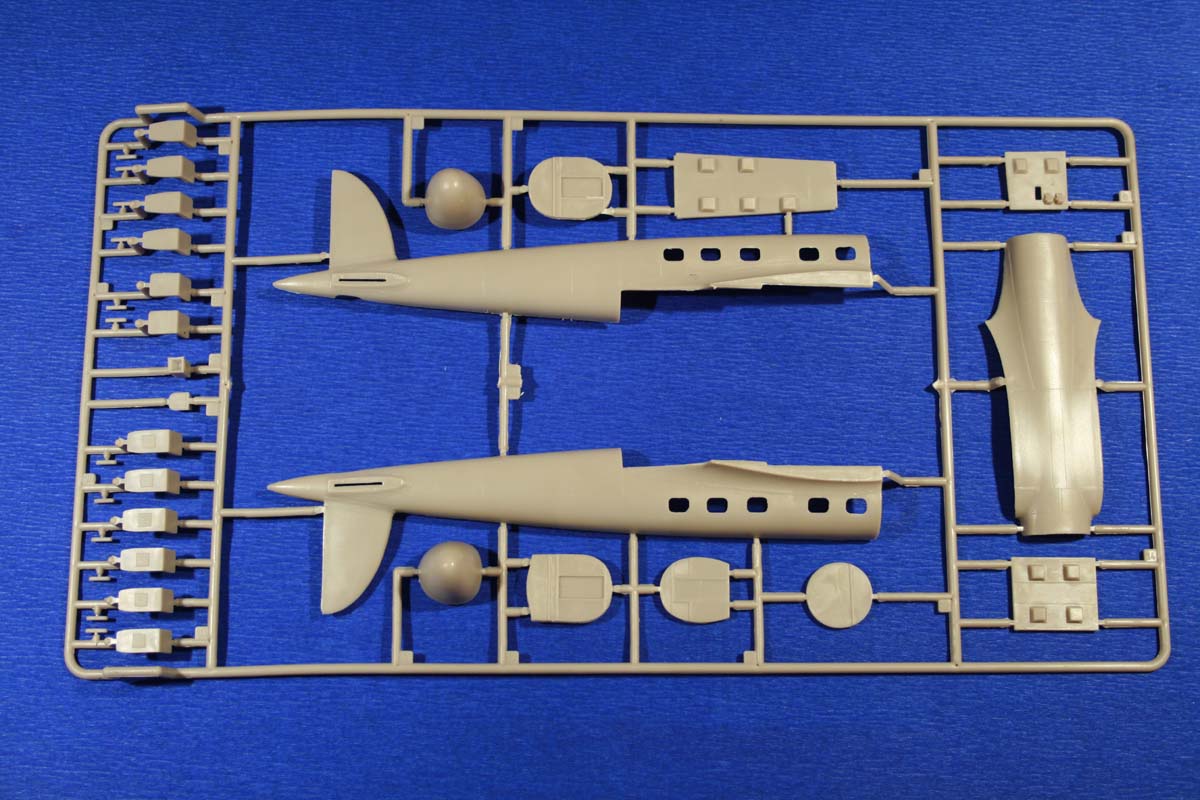
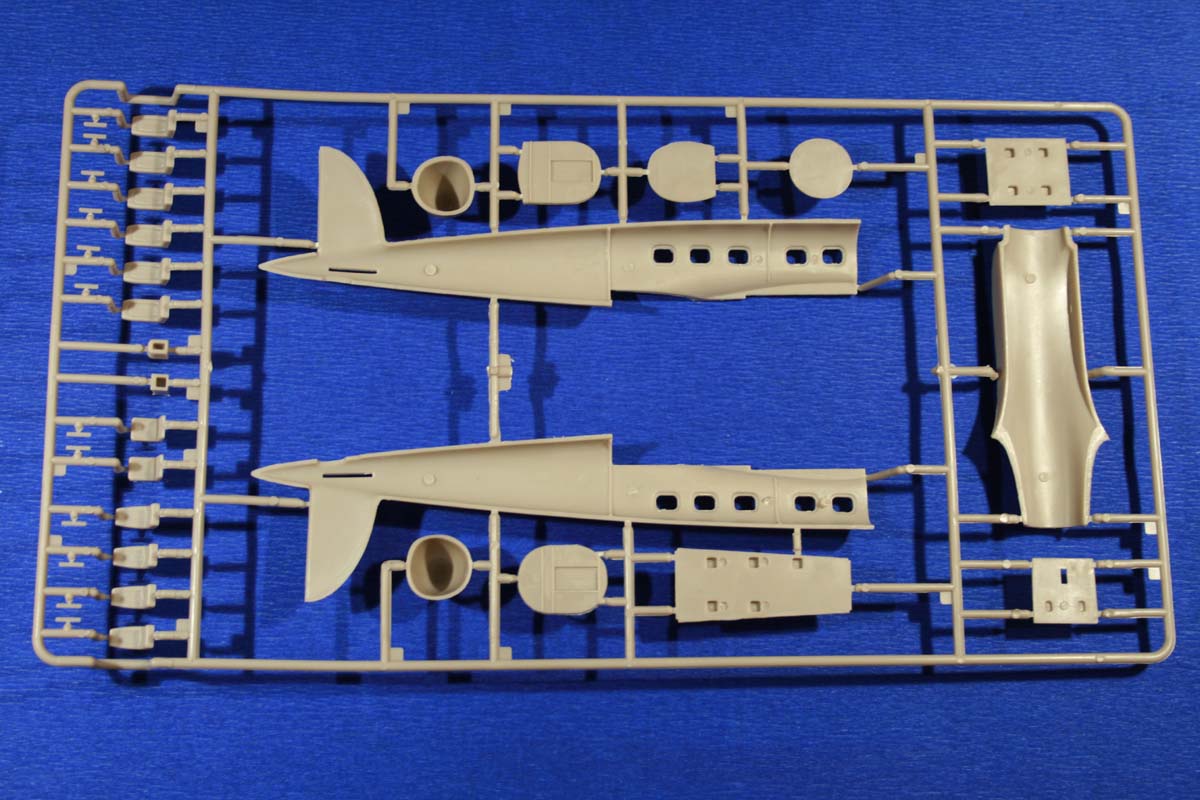
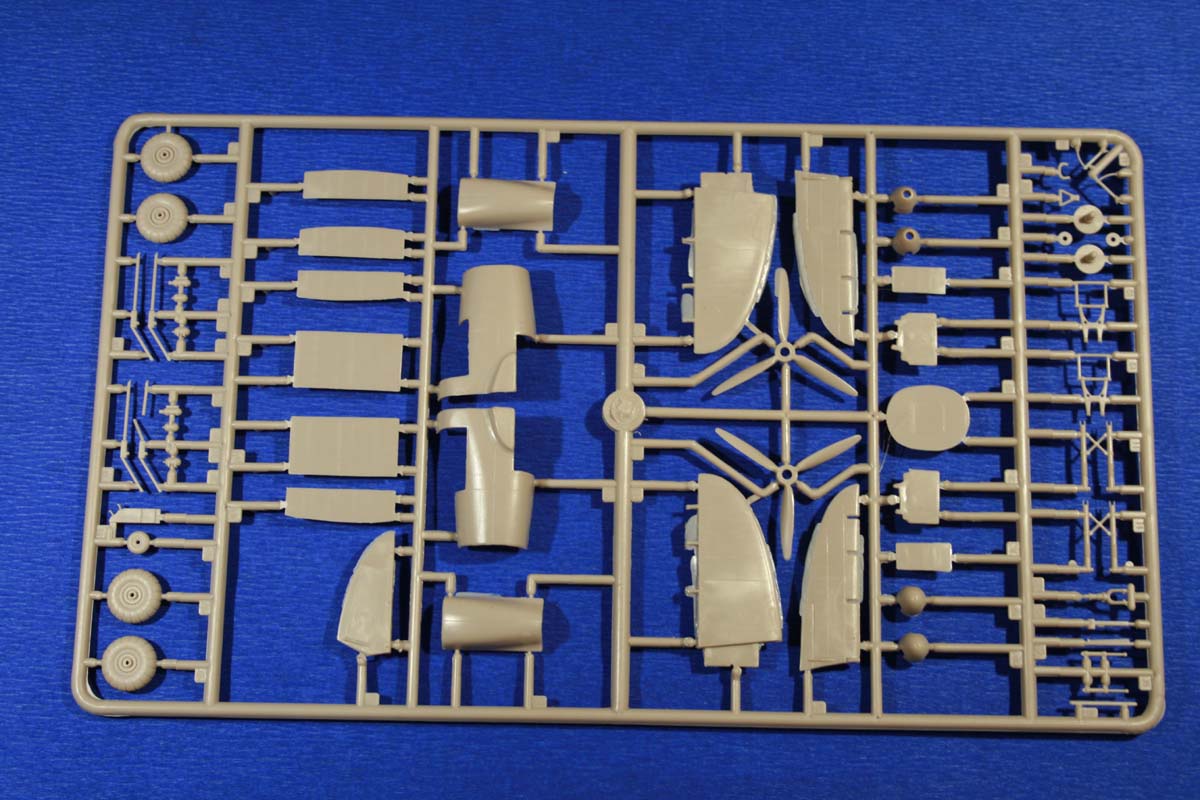
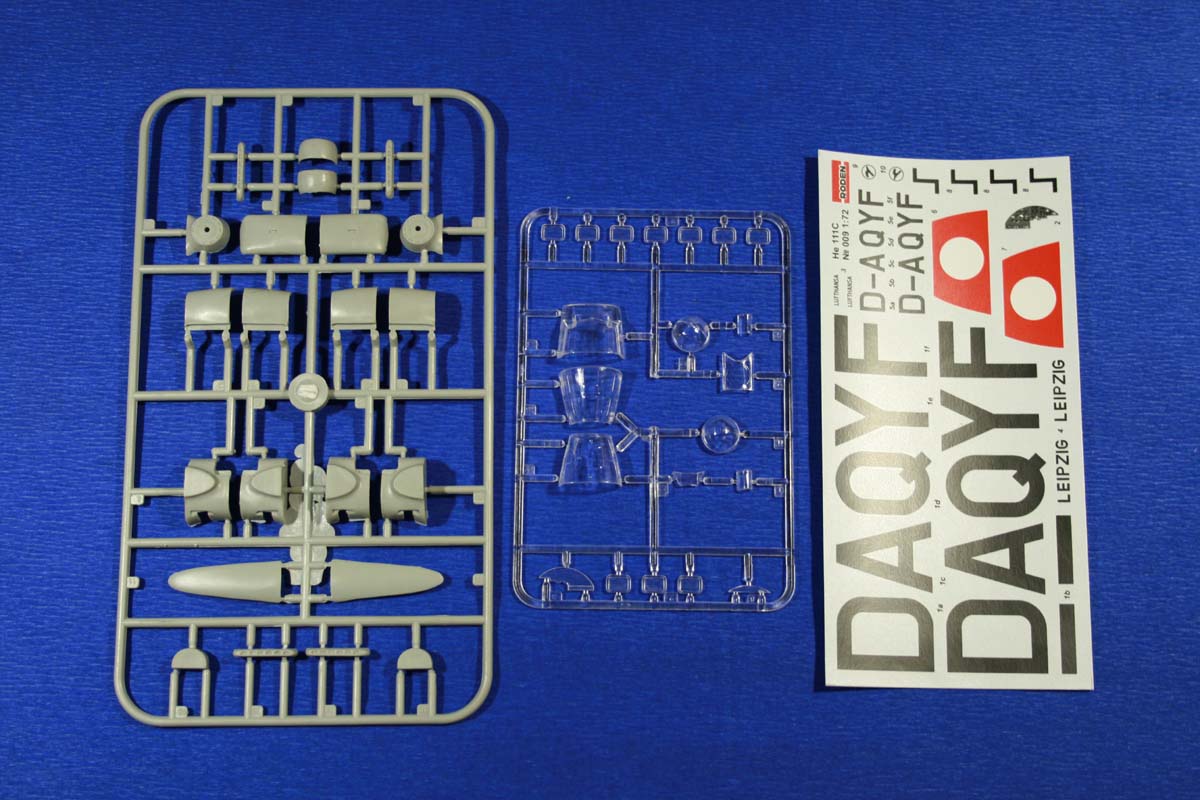
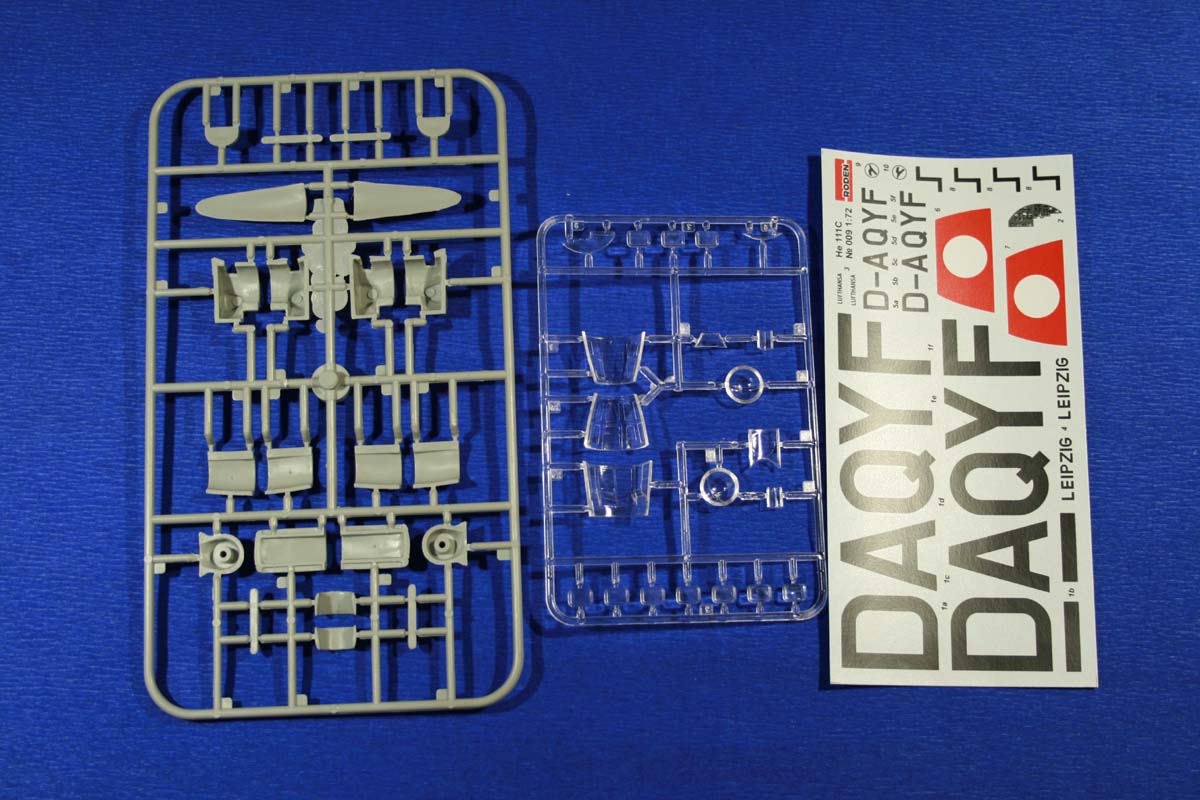
The kit was originally designed by the company Toco, with a sequence of other early He-111 variants.
Toko was absorbed by Roden, so this model was sold under the new label. For this reason, the quality
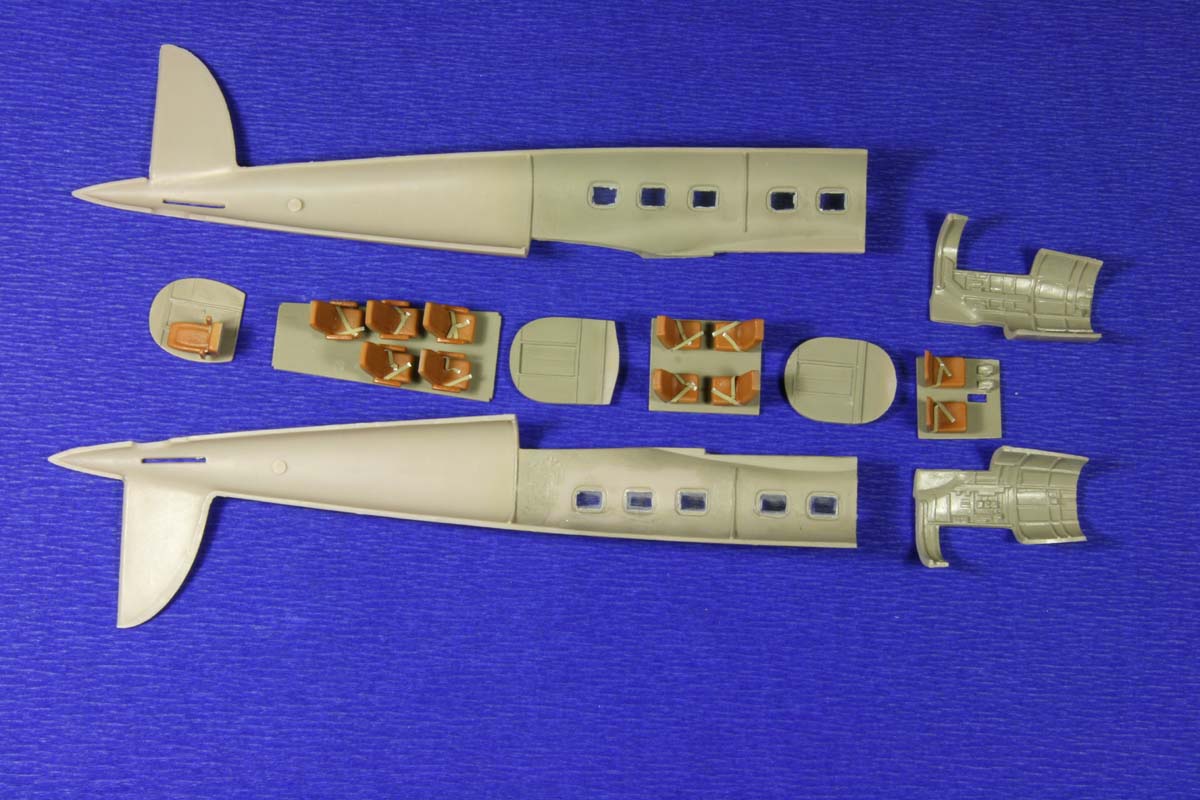
and conception of the kit is not what one would expect from Roden. The two-piece box comes with 3 sprues in soft beige plastic, one (very rough one) in gray plastic, and one last one in with clear parts. |
|
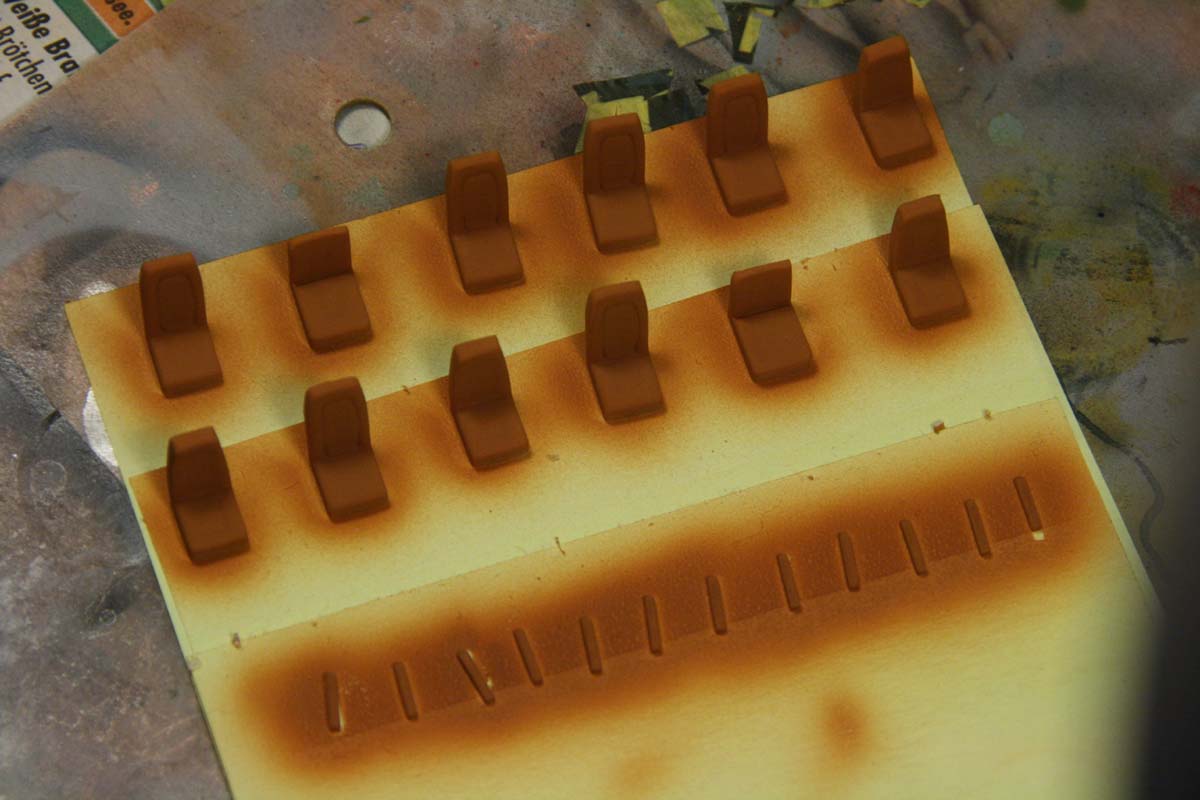
The buildThe assembly starts with the seats with armrests. The seats are installed on the single floor panels. Unfortunately, with all armrests equipped, the seats don’t fit into the fuselage any more, probably due to excessive thickness of the fuselage shells. To avoid this, I did not apply the window-side armrests.I also didn’t install the washing facility in the rear section of the fuselage, since there’s no window in this part. The seats were equipped with belts made from straps of adhesive tape. |
|
|
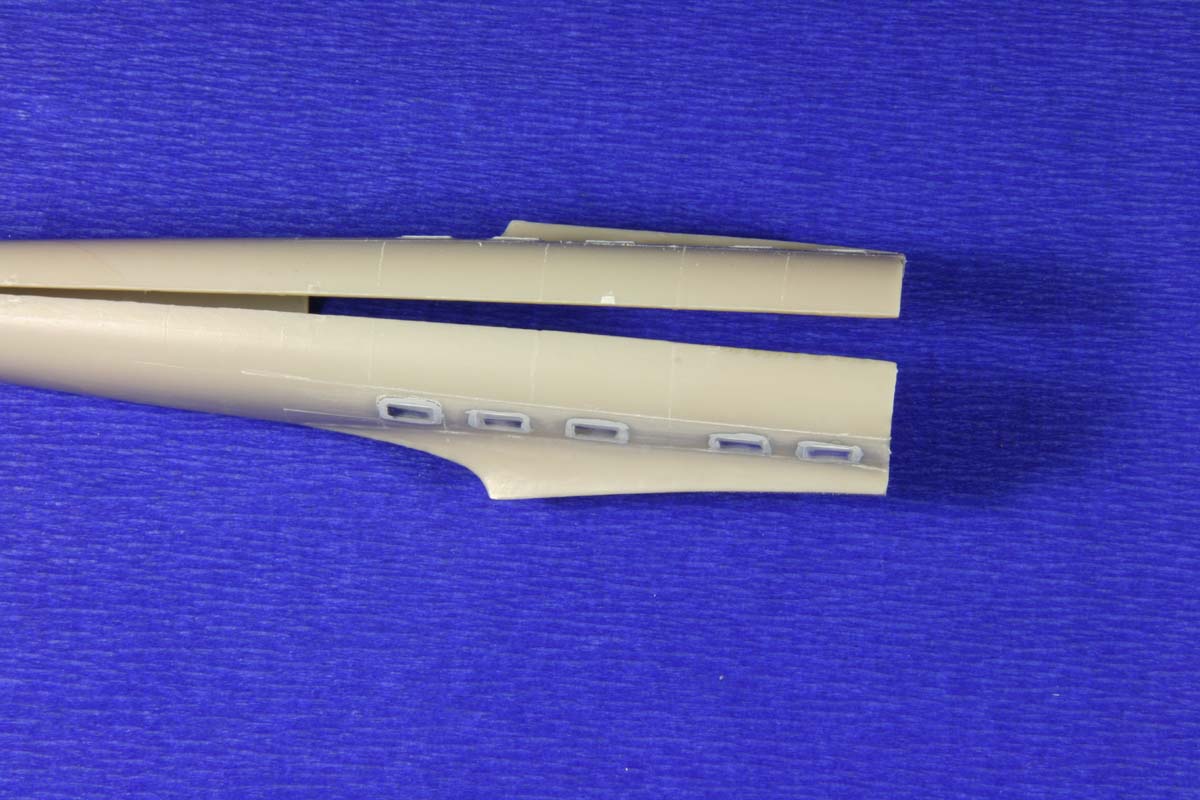
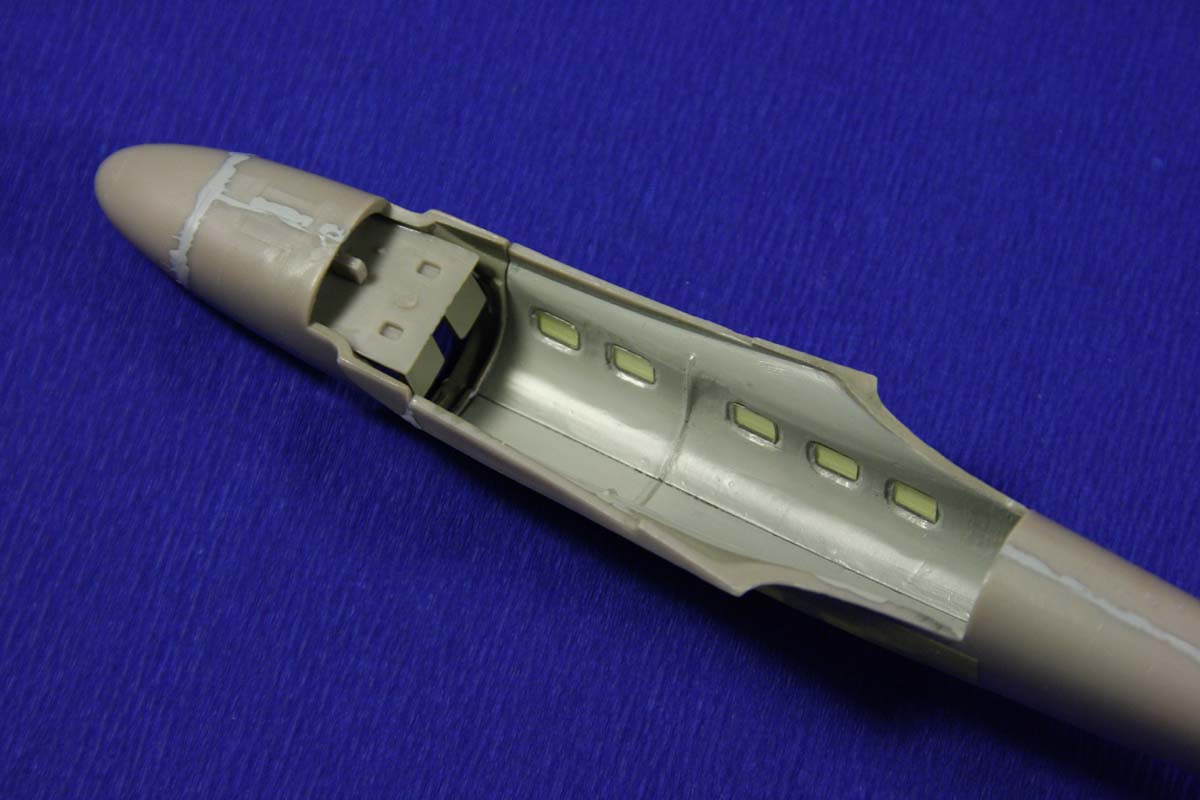
The internal dividing walls in no way fit into the projected positions, and have to be completely re-fitted. A problem are the provided passenger windows: These are flat and too small, so they leave a large gap around the clear part. On top they have sink-holes. I used pieces of a clear CD-case instead of the kit parts. Chunks of the case were glued into the openings in the fuselage, and after drying of the super-glue, they were sanded flush with the surrounding surface. The panes have now a slight lens effect, but in these small windows, I find this acceptable. The then assembled fuselage sections have a very poor fit, and have to be treated with plenty of putty. Due to the resulting sanding spree, all the details, making the kit look so great on the first glance – are gone! |
|

 |
|
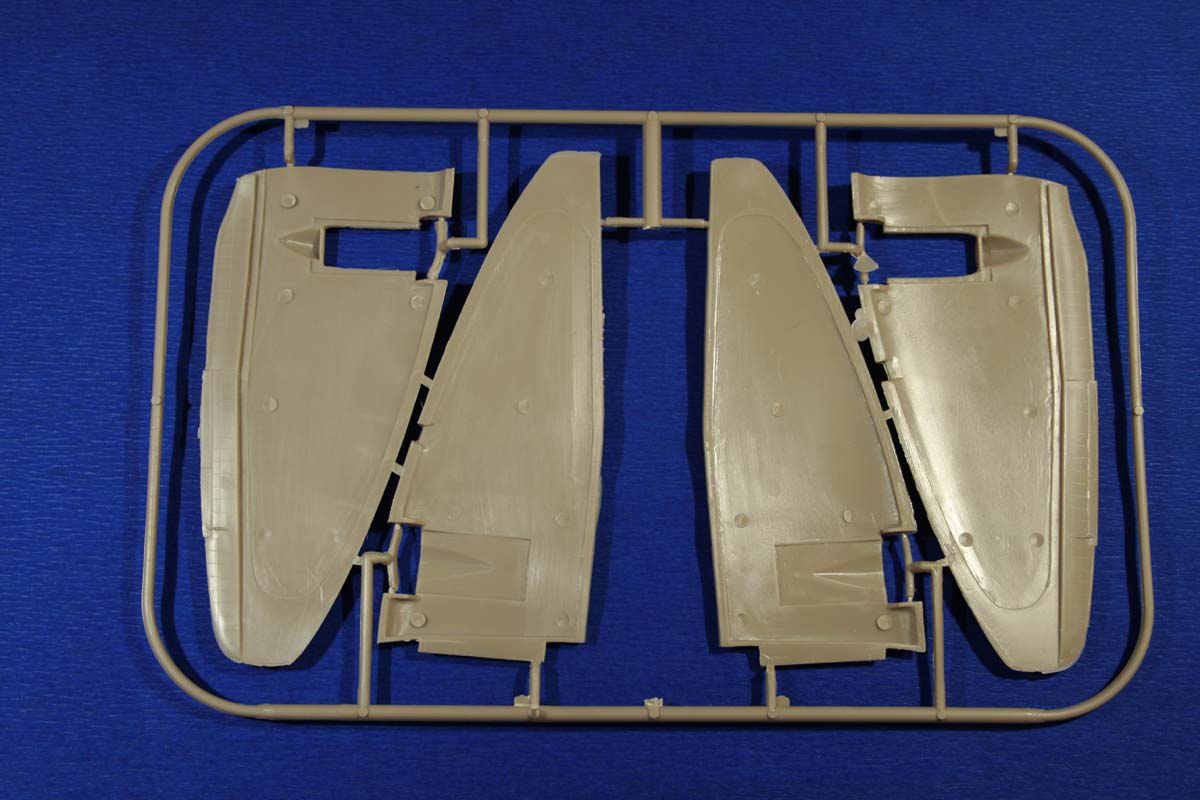
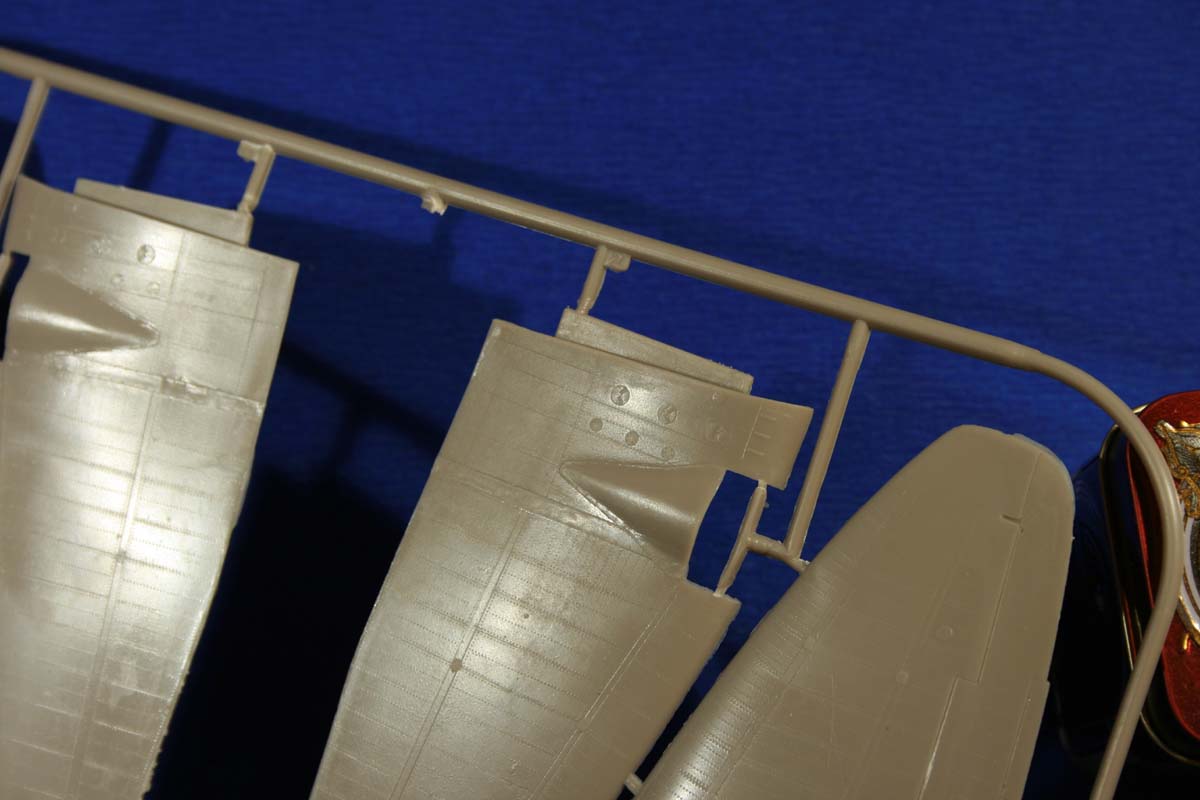
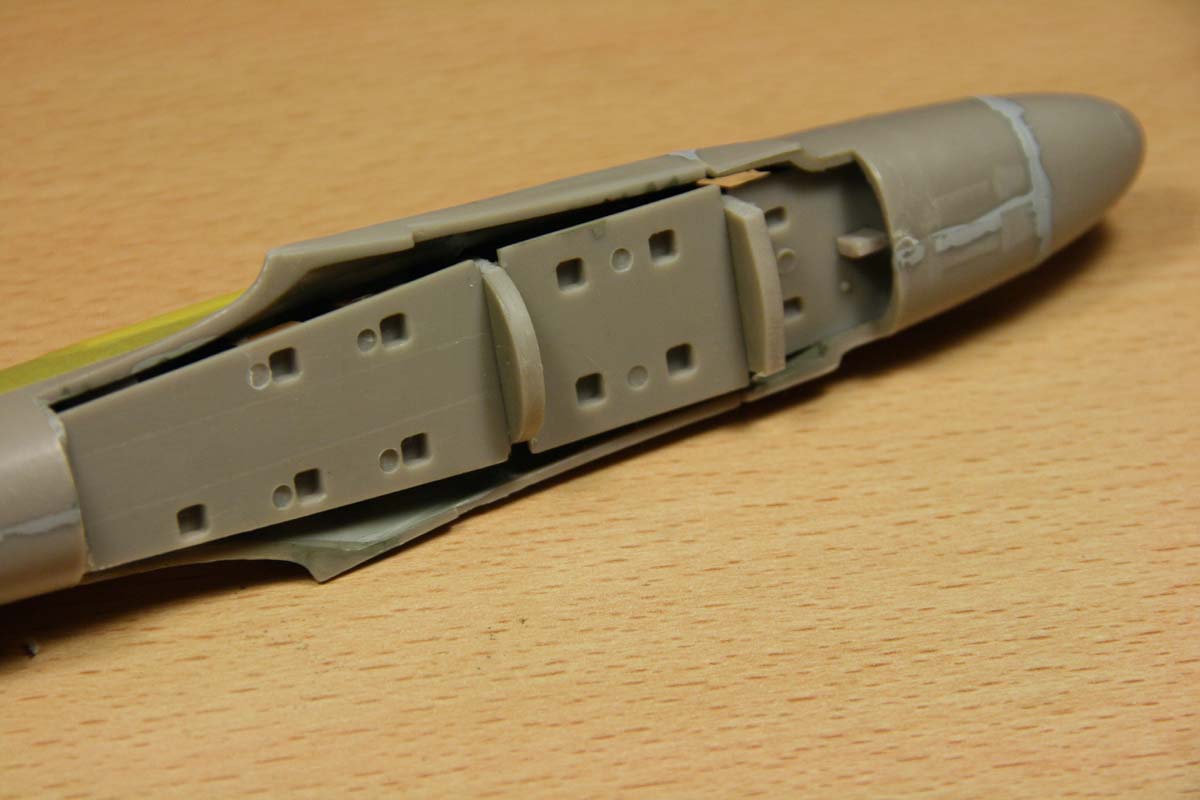
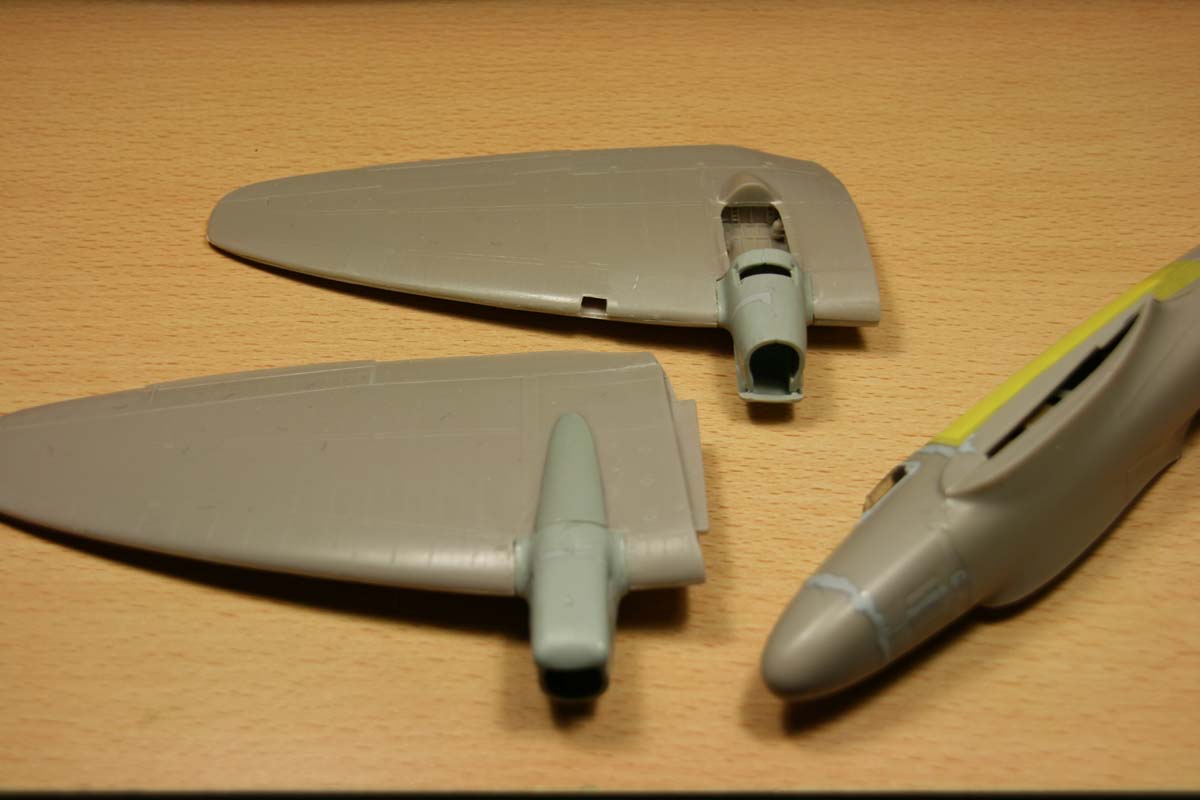
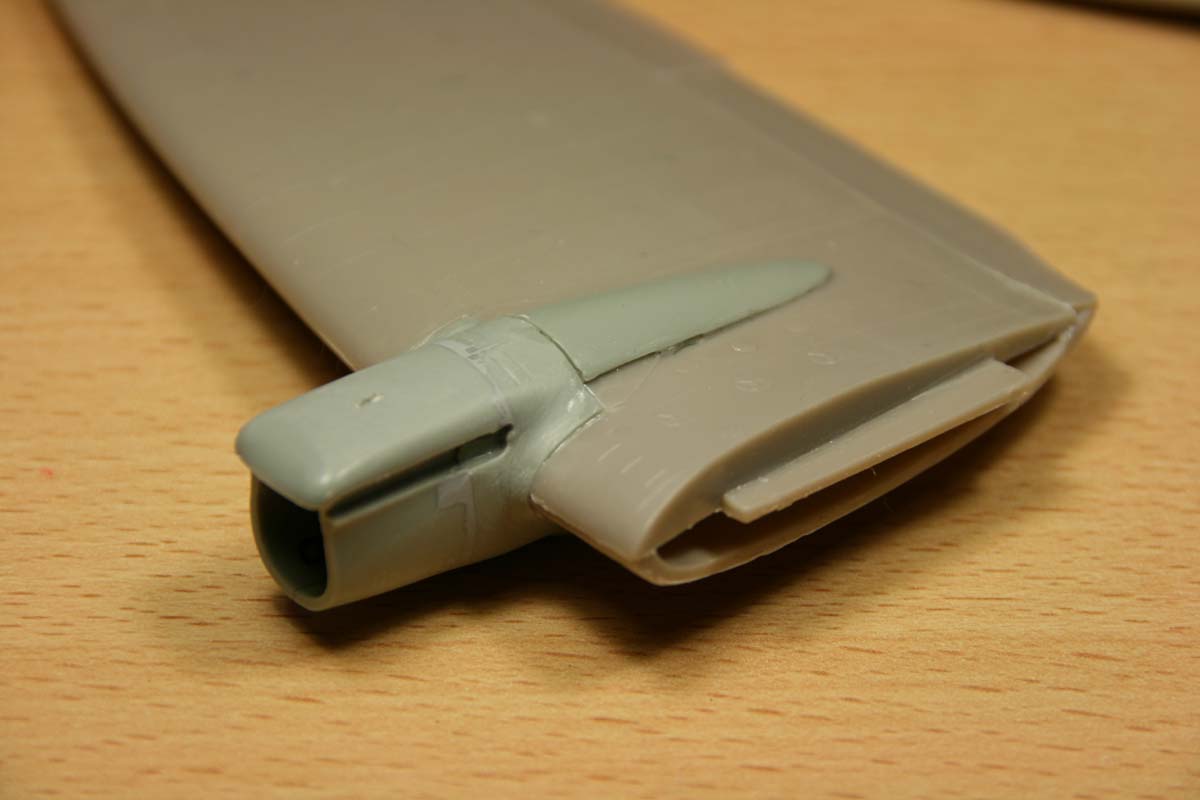
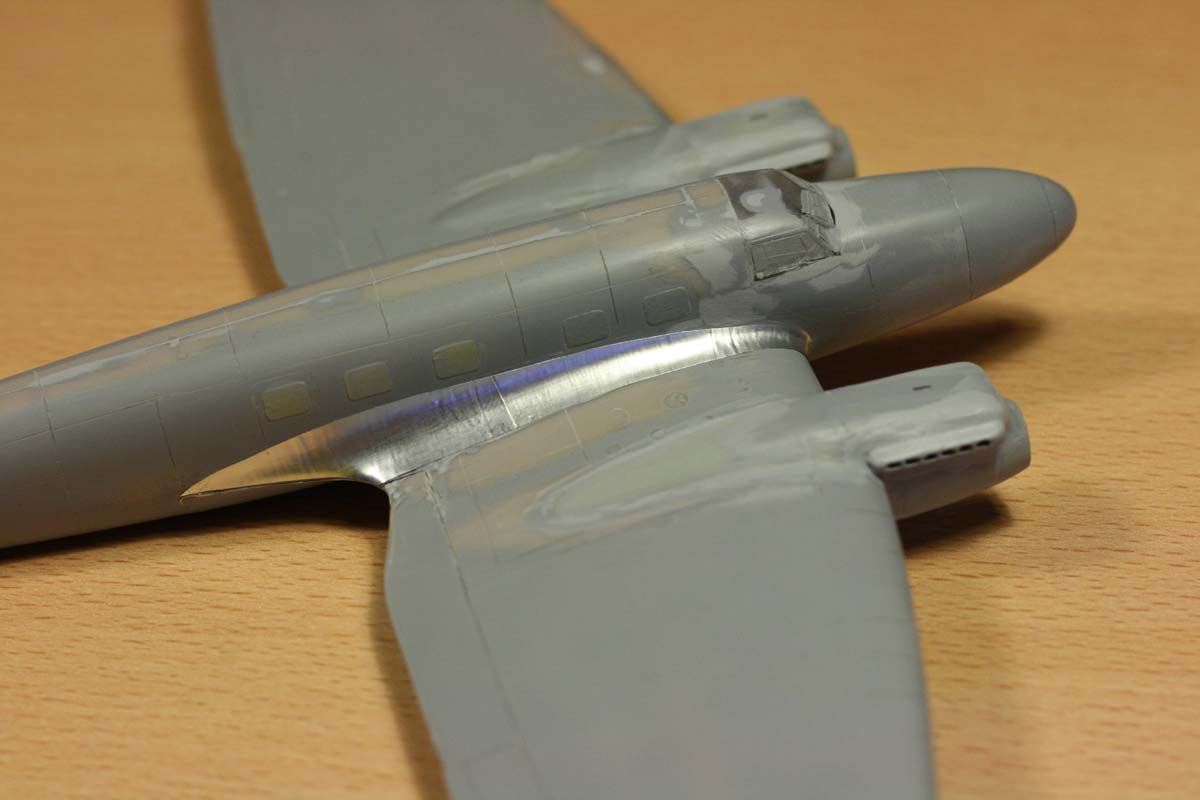
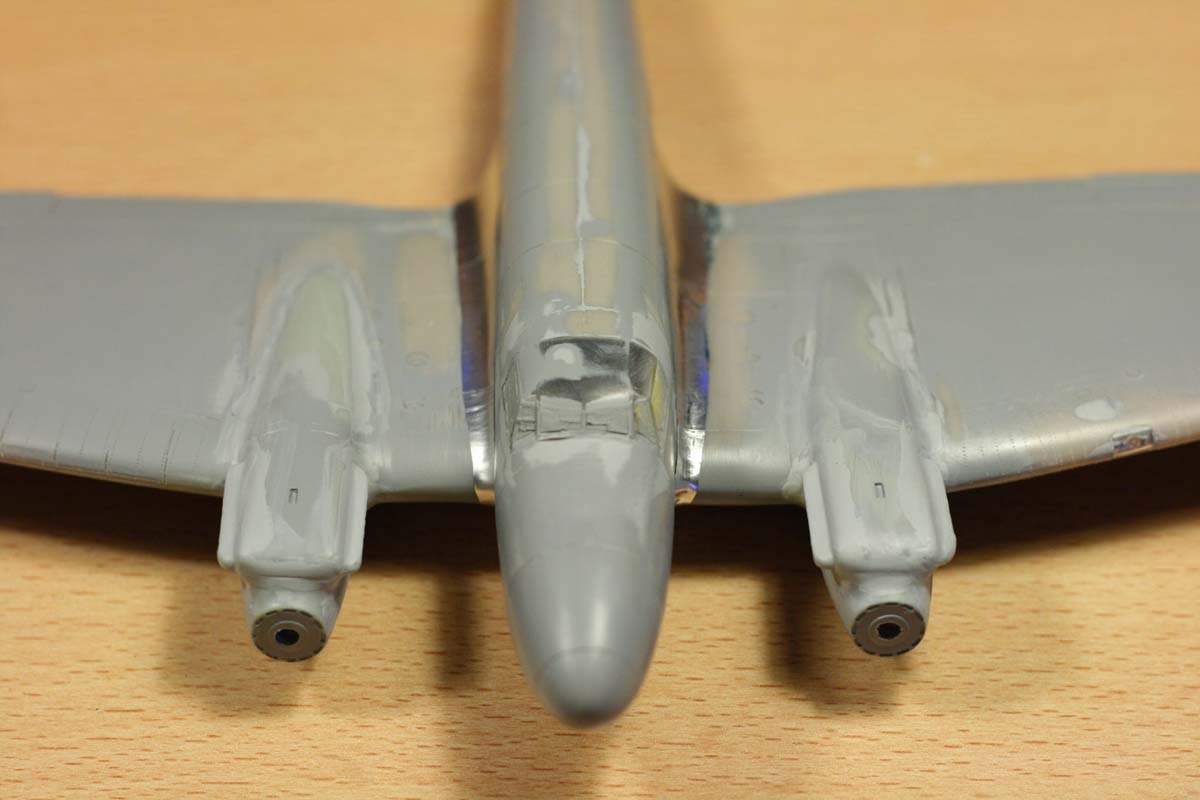
During the assembly of the wings, the miserable fit shows even more: fitting of the wheel wells results in gaps up to half-an-inch.
Sanding is not enough: heavy tools like a wire cutter and saw were the necessity. The engine nacelles are separated into many pieces, probably for easy use in kits of later versions. Unfortunately, due to this, the construction is quite cumbersome, which is not actually helped by the missing pins. I pre-assembled the front bits, and then added the trailing end on the nacelle. During assembly the alignment has to be carried out very carefully, since a miss-alignment is not easily spotted, but can spoil the model completely. The nacelles also require putty and sanding, but at least they didn’t have any details which would disappear after sanding, anyway. |
|
|
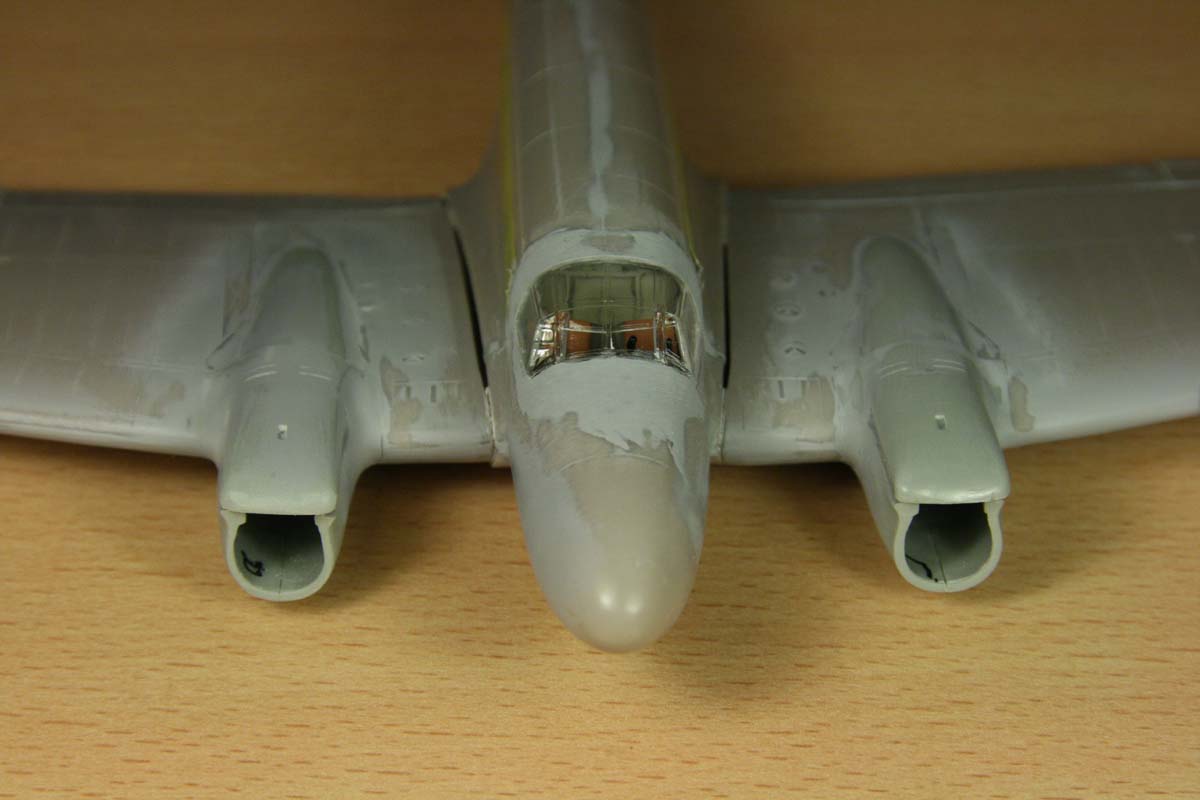
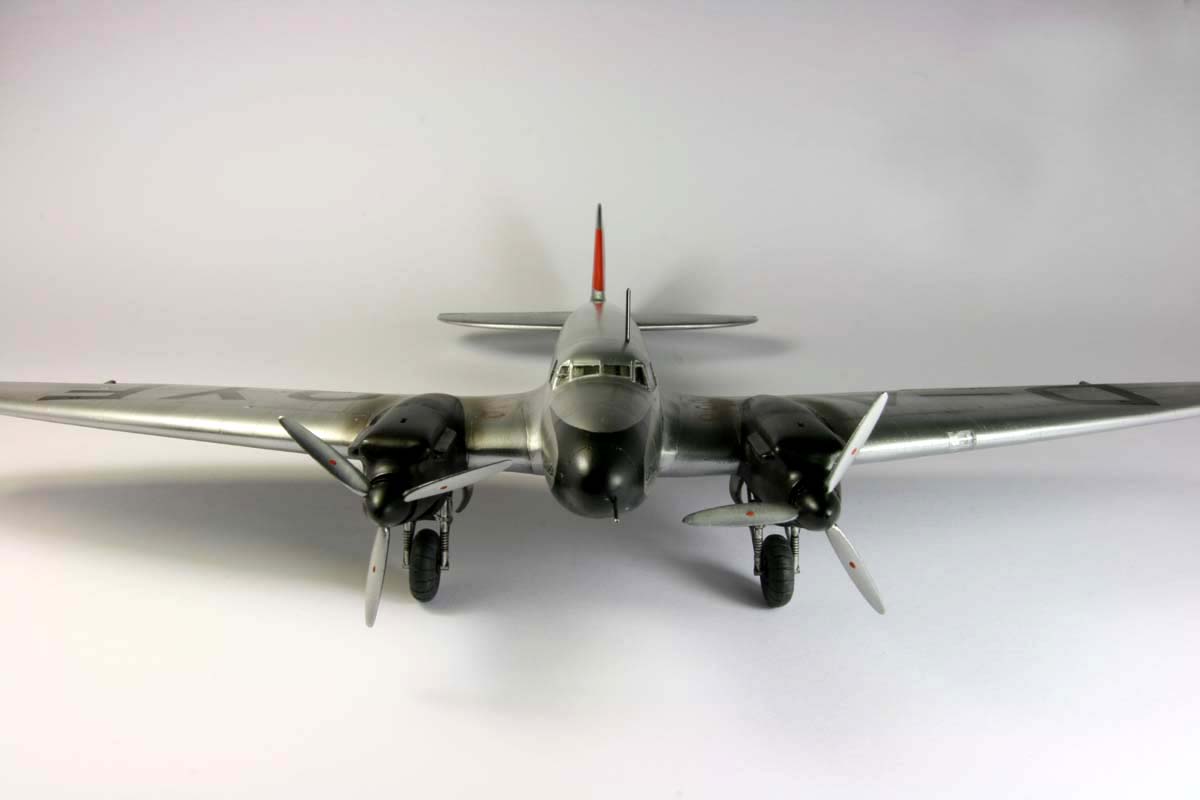
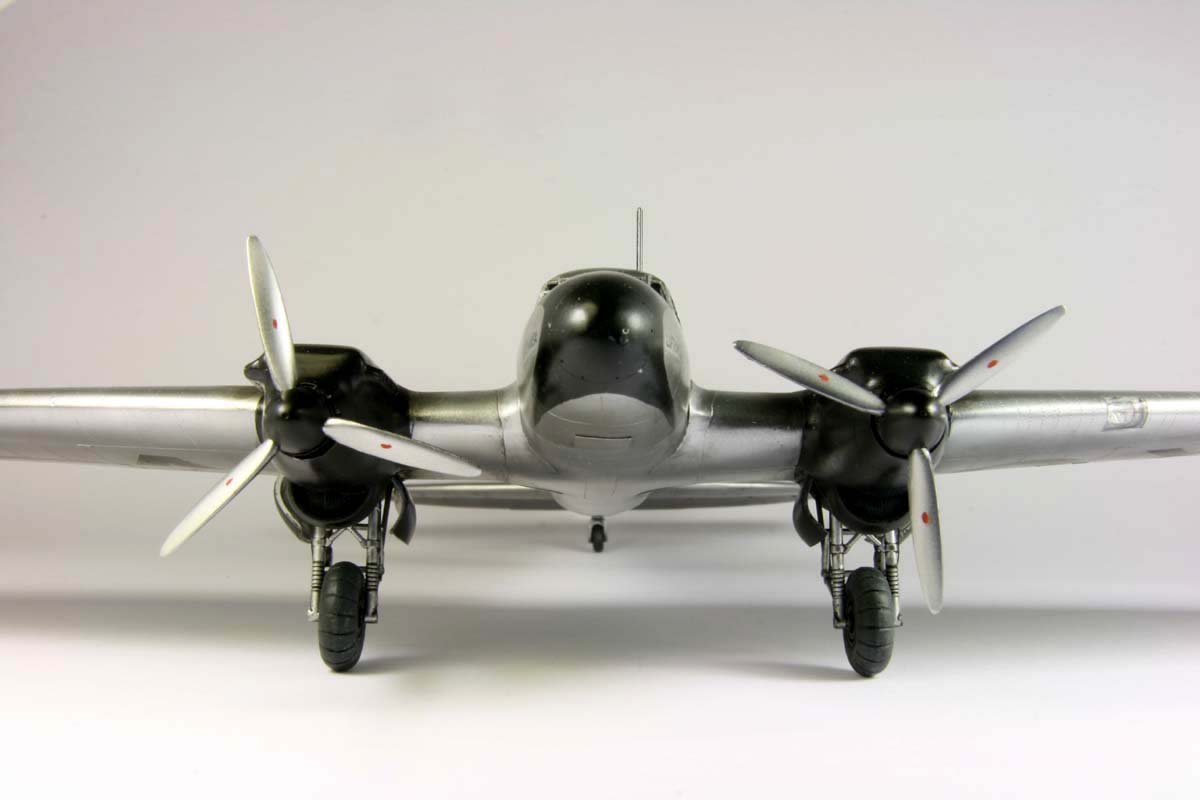
I drilled out the exhaust pipes. The shape of the nacelles in my model didn’t turn out to be satisfactorily close to the original,
if looking at the photographs: above the exhausts some more material would be needed. In the end, doing the nacelles proved to be
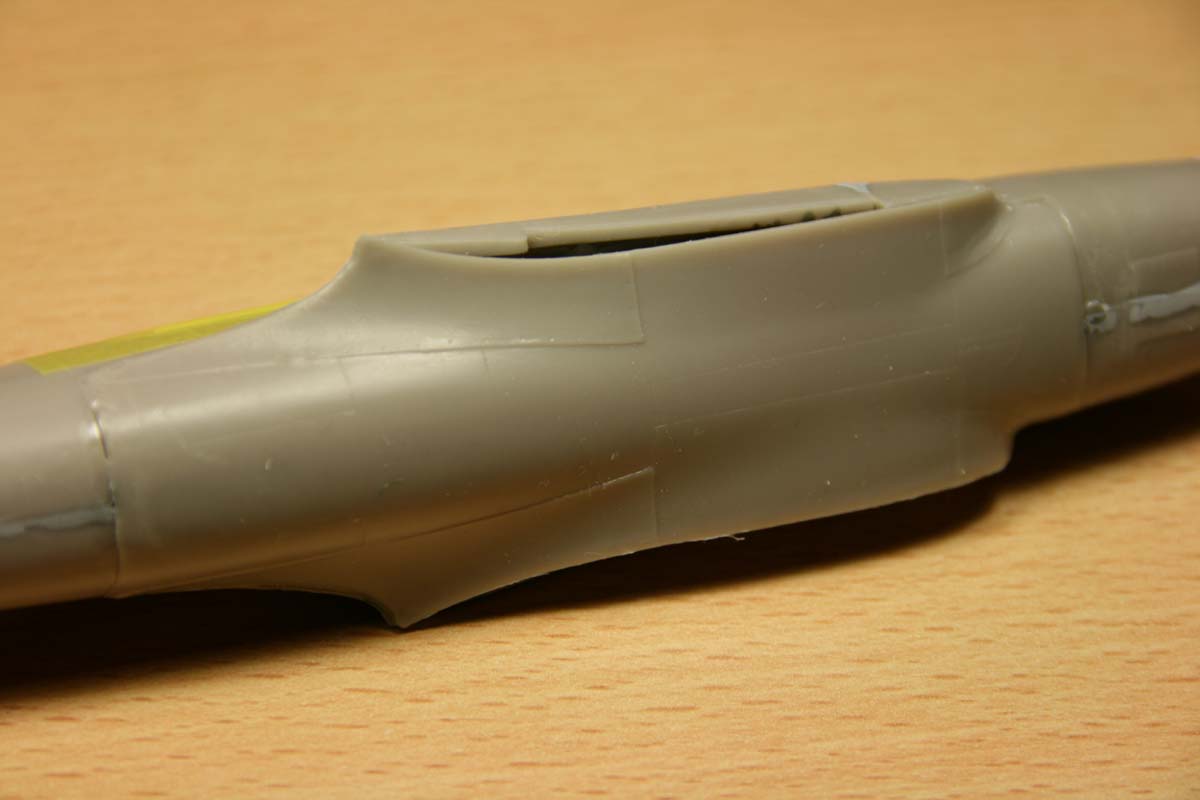
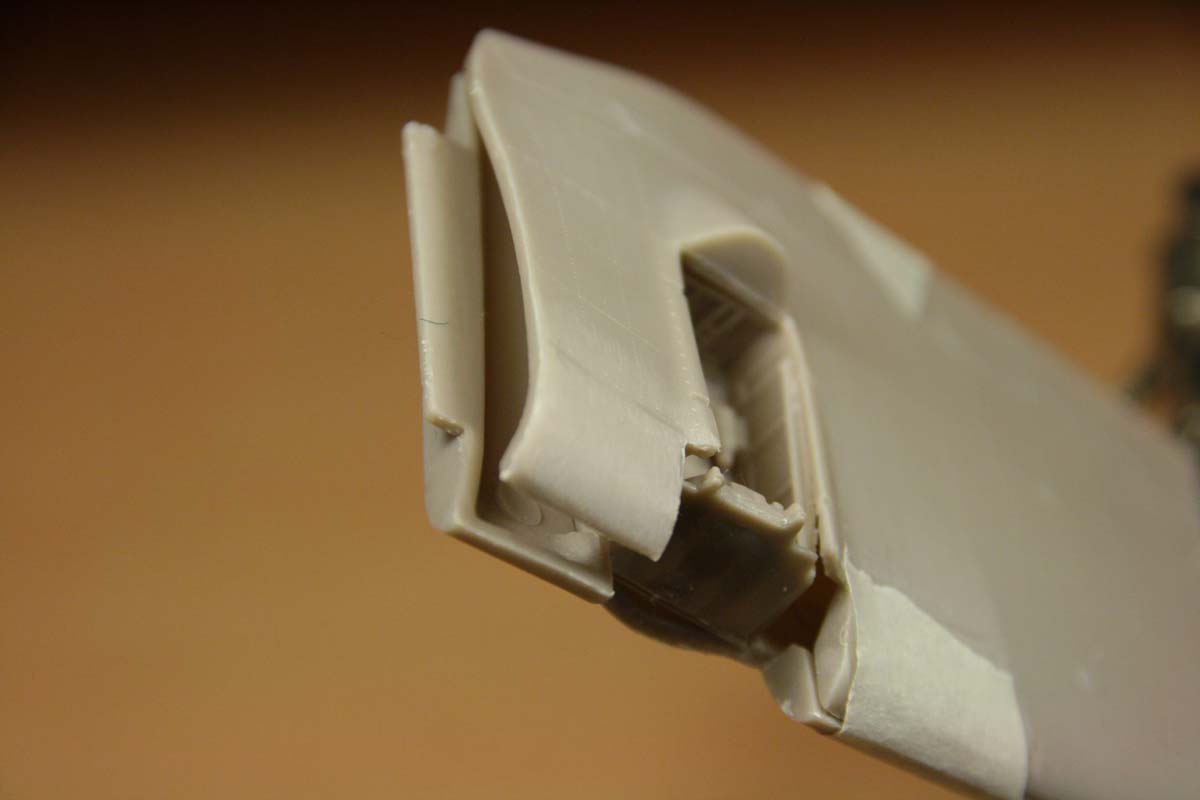
practically free 3D sculpting. To close the gap between the wing and the fuselage, plenty of filling and sanding is needed. Since this would kill all the details around, I decided for a different approach: I cut out the shape of the wing-body fairing roughly from adhesive, and then transferred the shape onto tin foil. These can then be well snuggled to the correct shape on the model. Now it was time for the landing gear: The long, fragile parts were partially replaced by wire. To add some detail, the landing gear was equipped with braking lines. |
|
 |
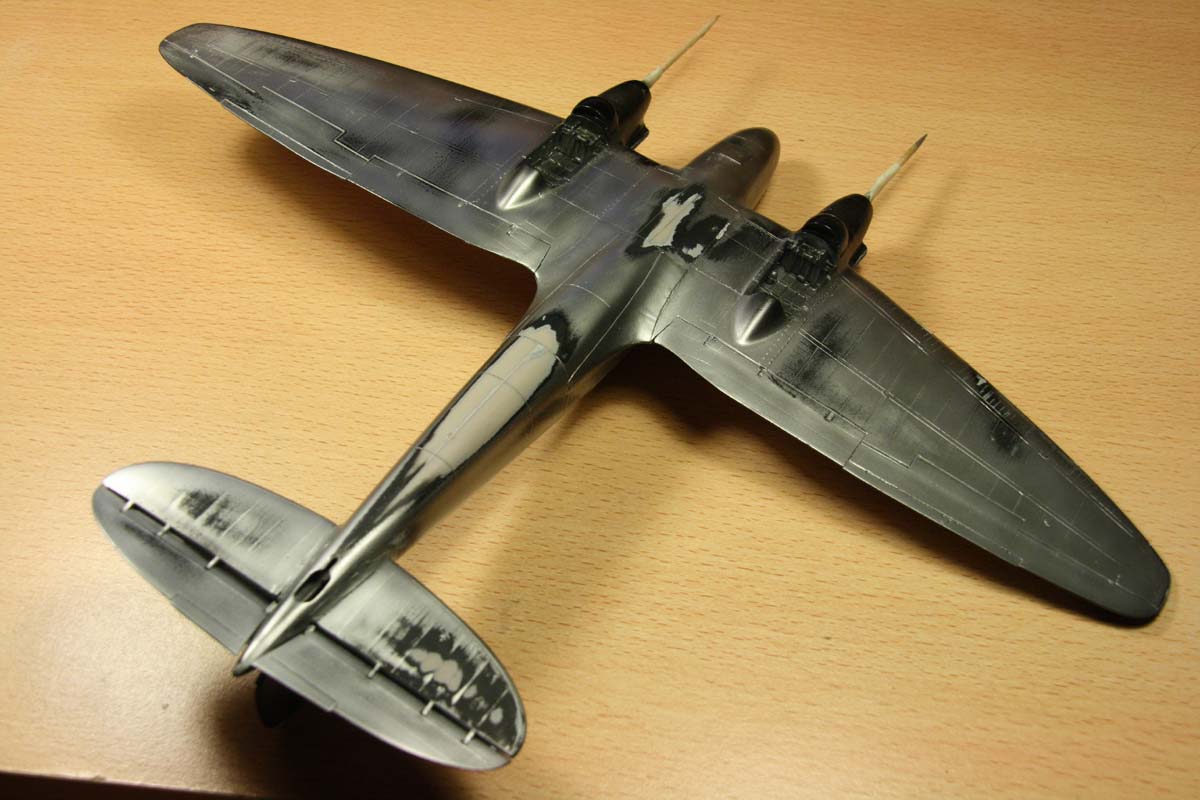
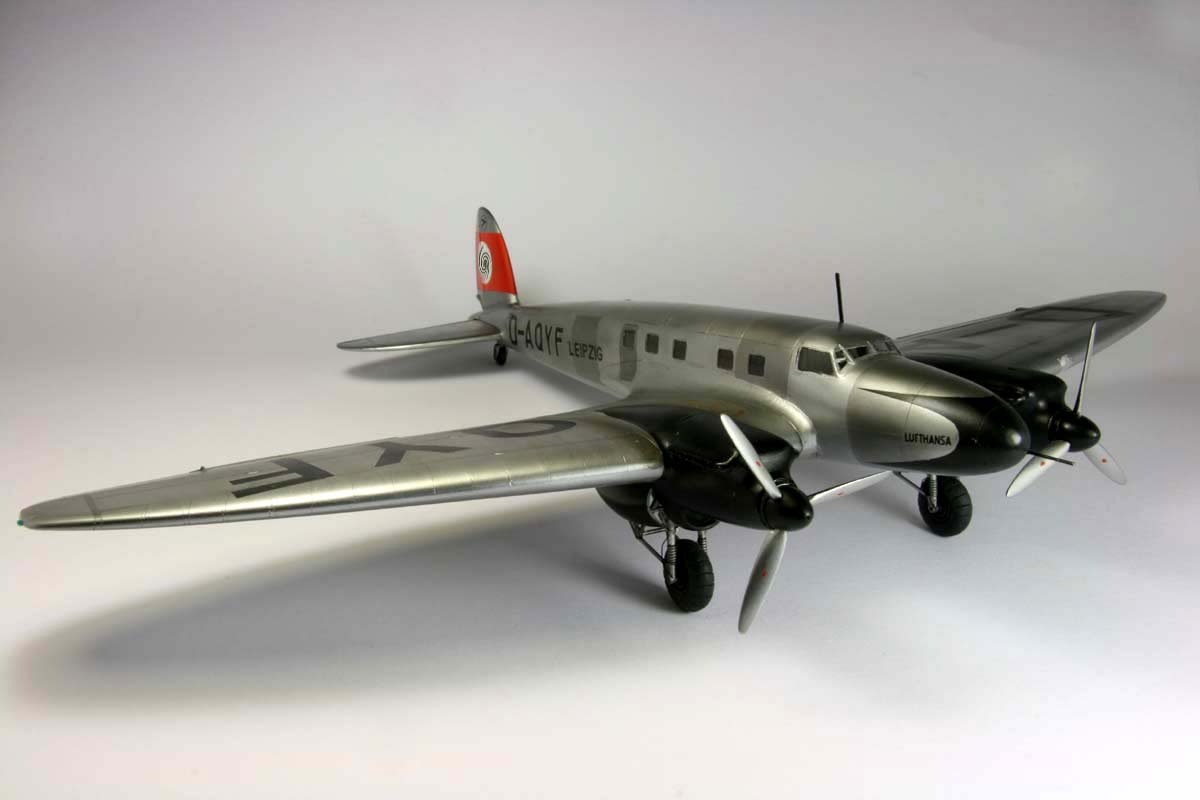
PaintingThe model was - as usual – coated with Mr. Surfacer, and finely sanded. Then the panel- lines and rivets were re-done. On the curved surfaces this can be easily done with a micro-saw.As preparation for the natural metal, I applied the black gloss Alclad coating. Then the first coat of Alclad 2 “Aluminum” was put on. Some panels were accentuated by spraying them with Alclad which was slightly darkened by the black primer. By adding small drops of the primer to the airbrush cup, different shades could be generated, without having to have more types of the rather expensive lacquer on hand. As usual, the defects of a natural metal surface are first really visible after the Alclad. To get the surface in to a more or less acceptable condition, it took about twelve iteration loops of “spray-sand-polish-spray”. It is also to be considered that during too enthusiastic sanding, the primer can be removed in whole chunks, which are then really difficult to replace. To prevent this, I was always using very fine, wetted sanding paper. |
|
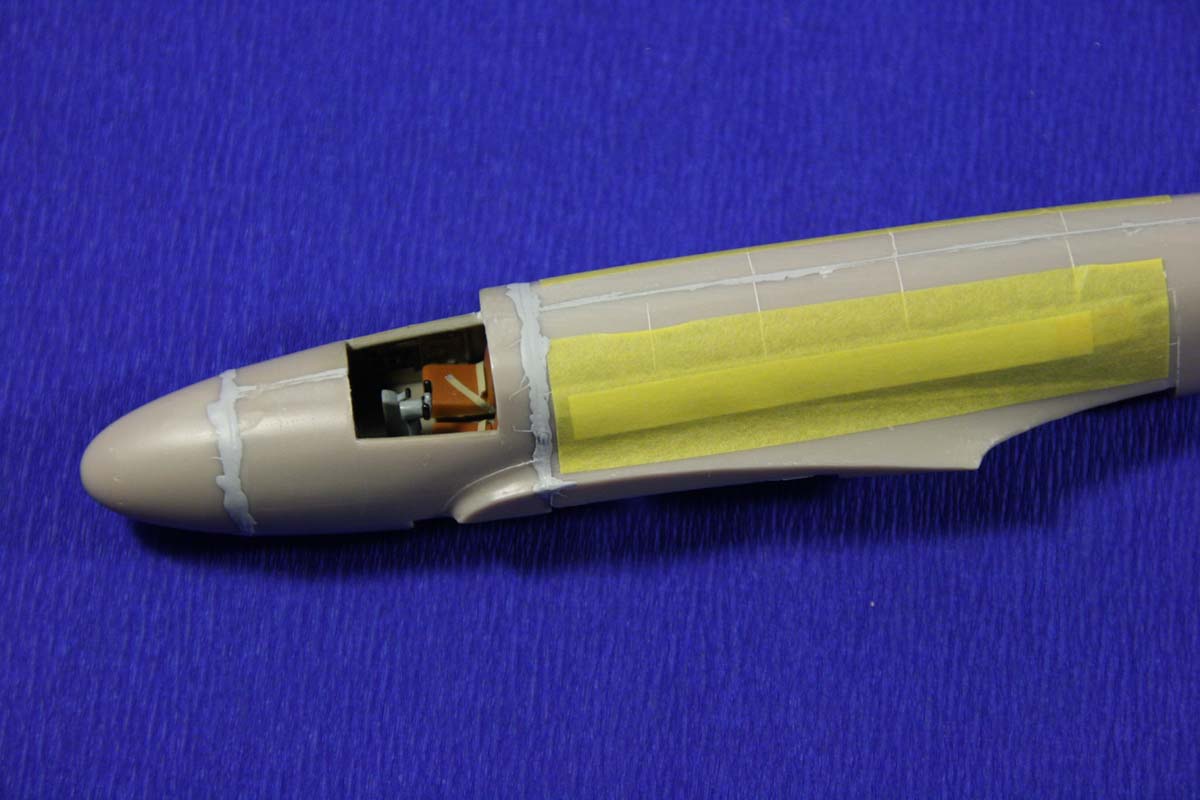
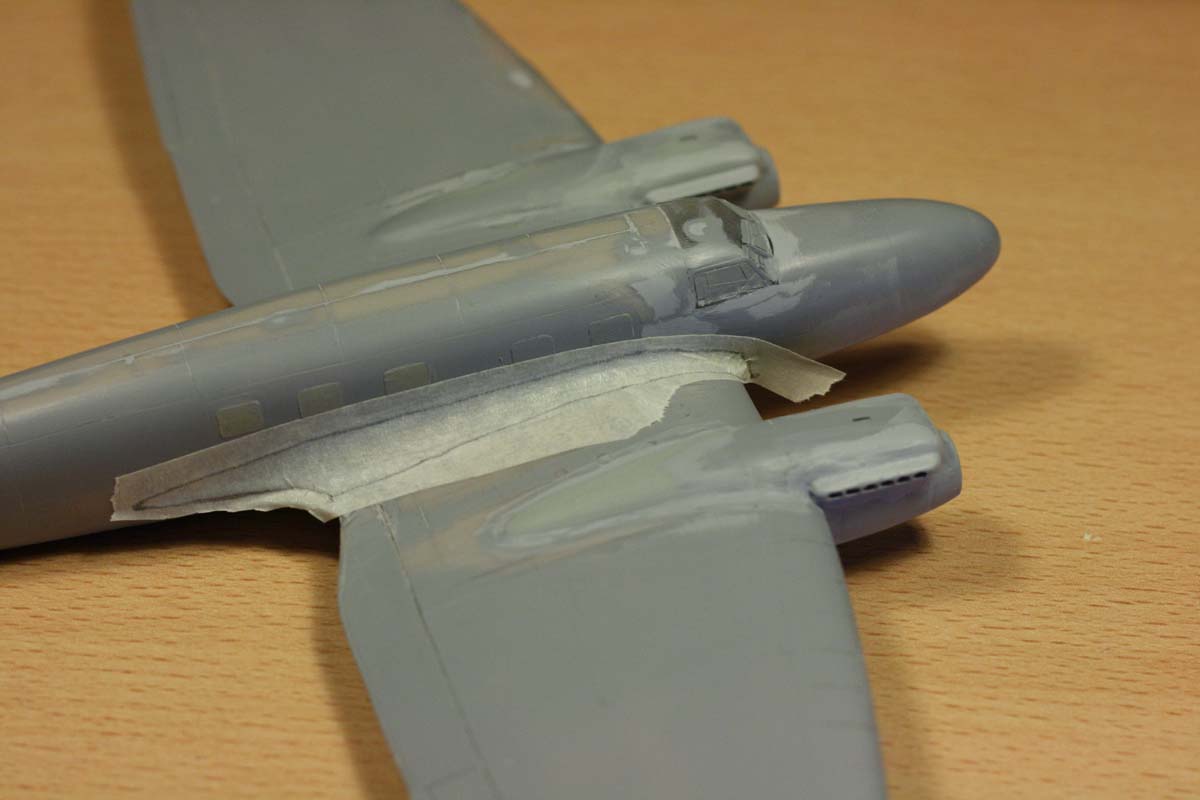
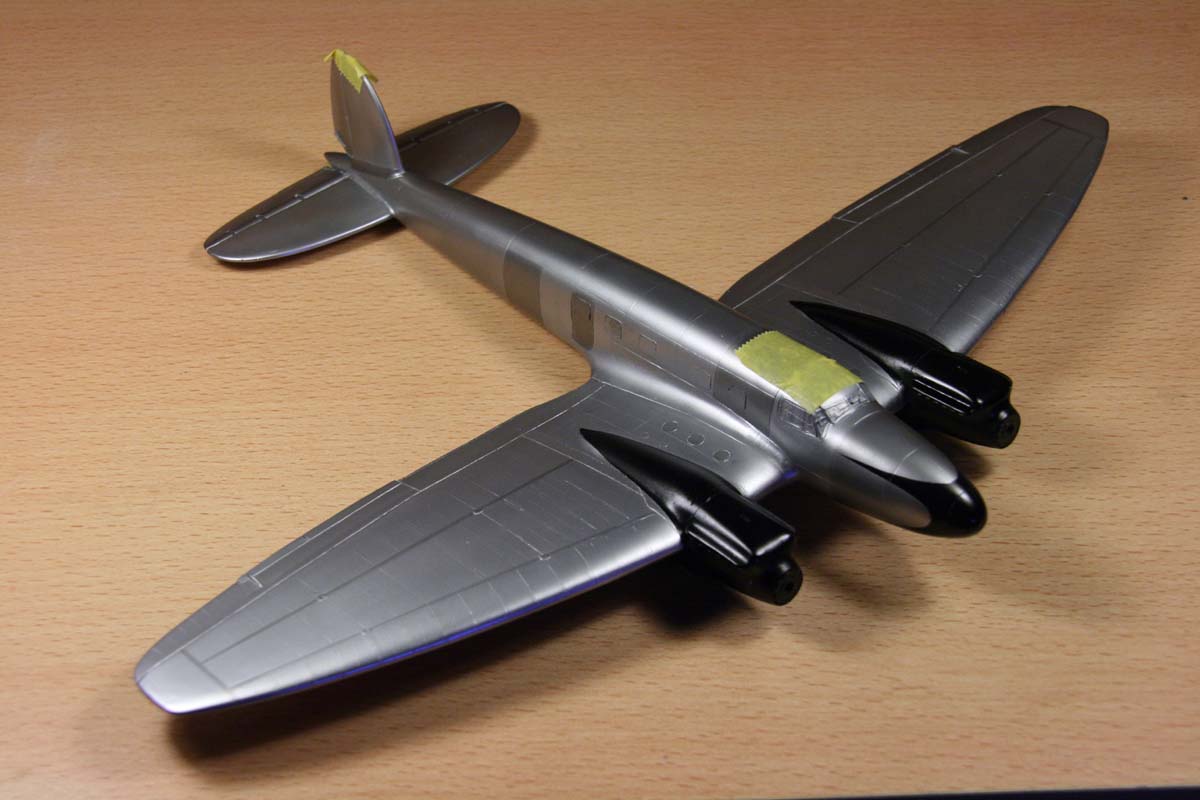
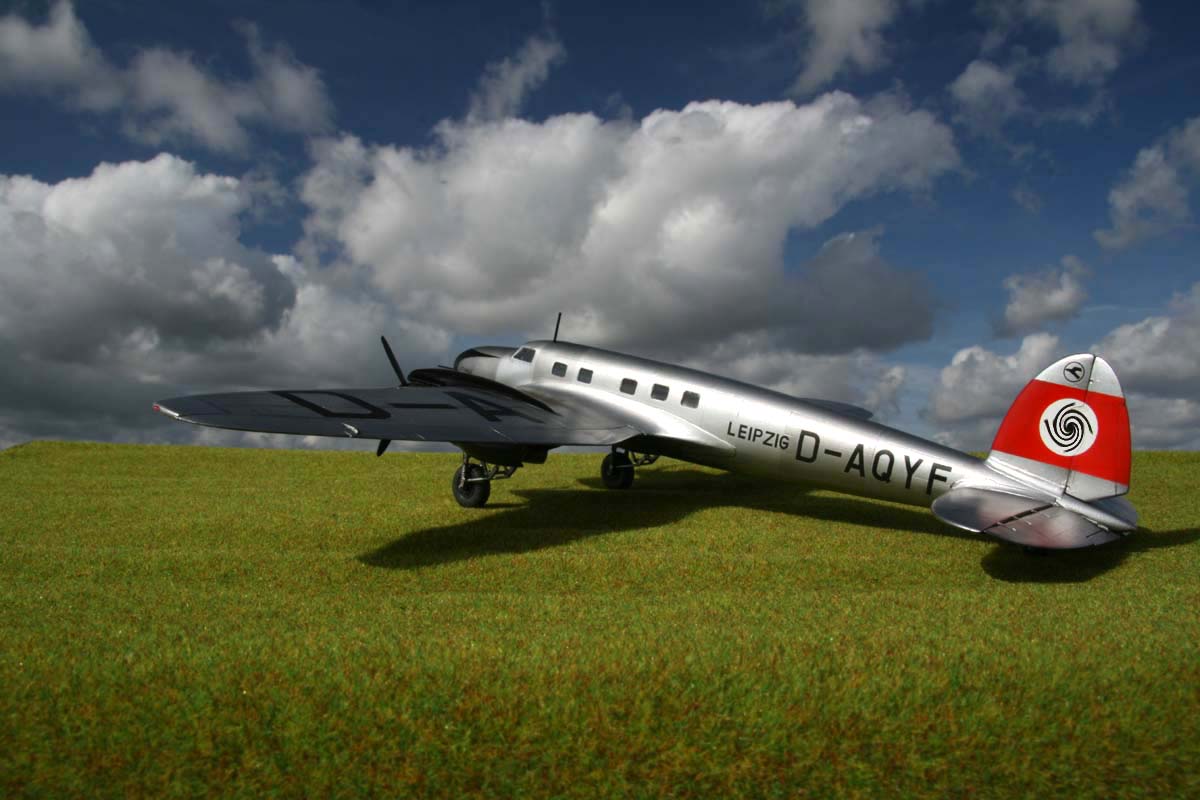
The nose of the fuselage and the nacelles were masked by Tamiya-tape which was first pre-cut to the rough shape,
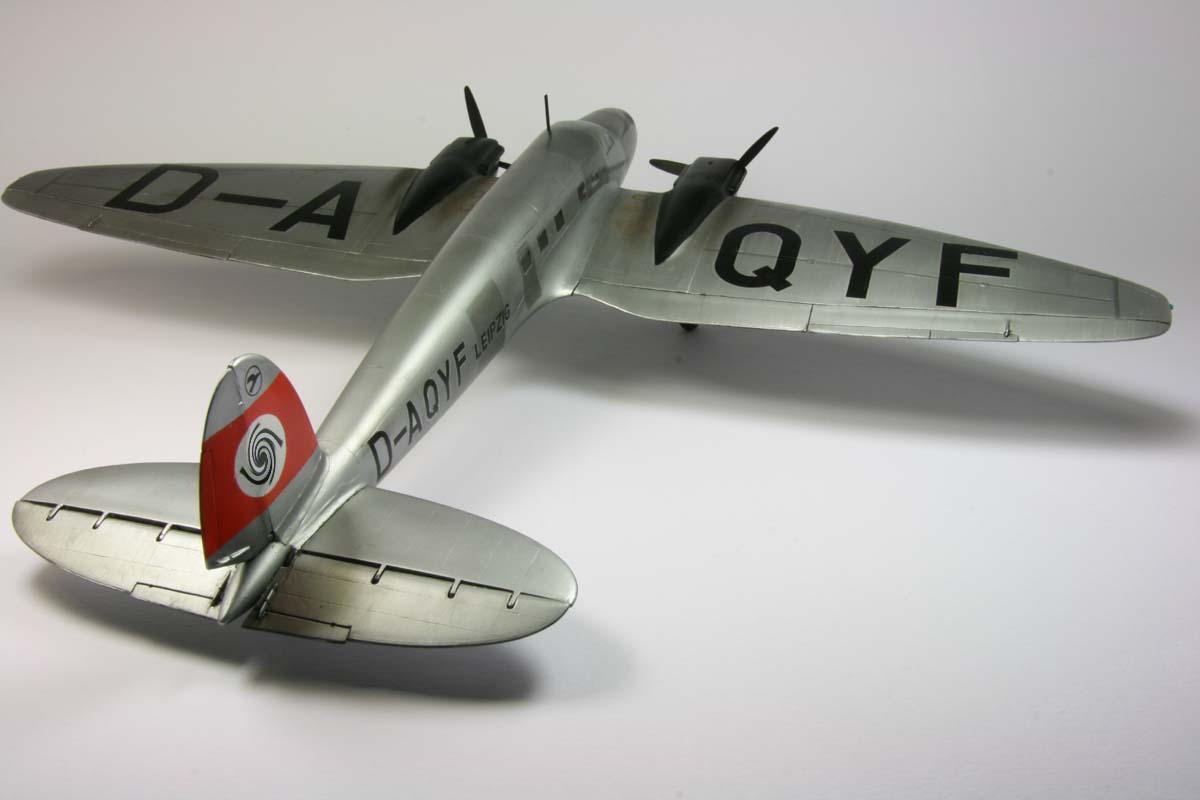
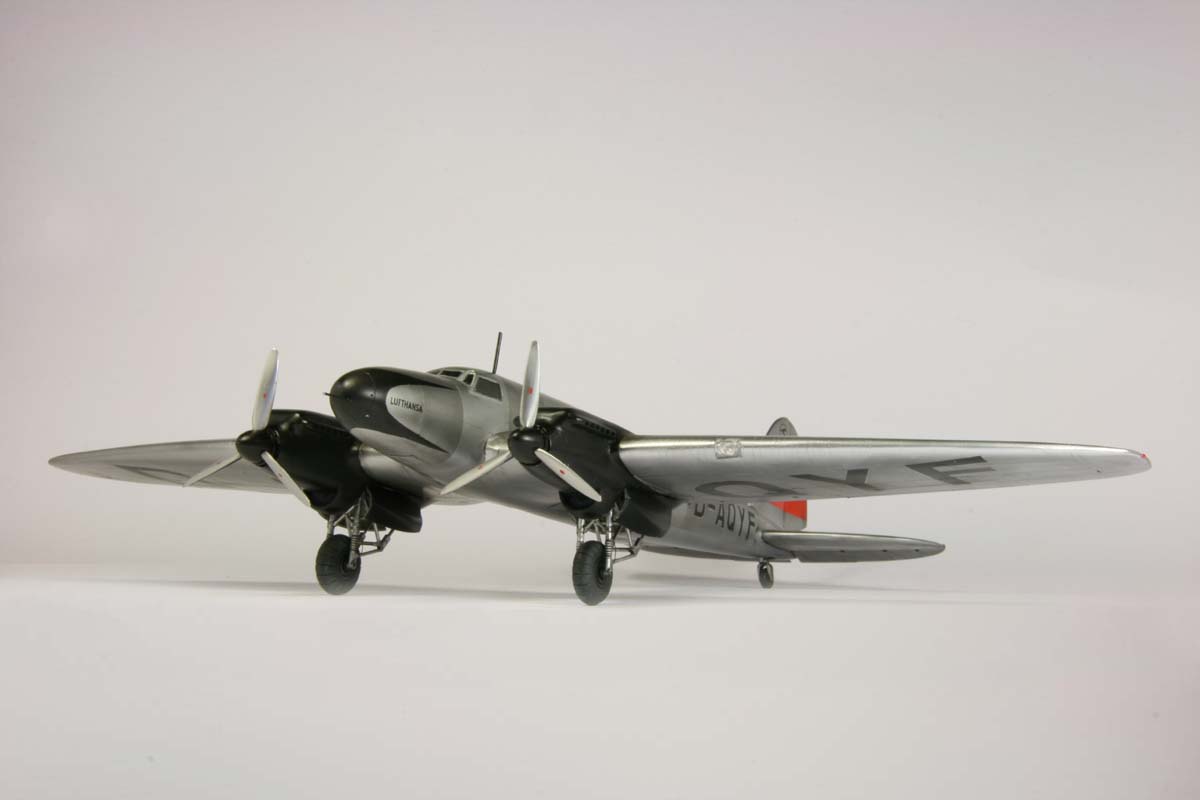
then cut in quarters for better positioning. The tail fin was first sprayed white, then masked, and in the end
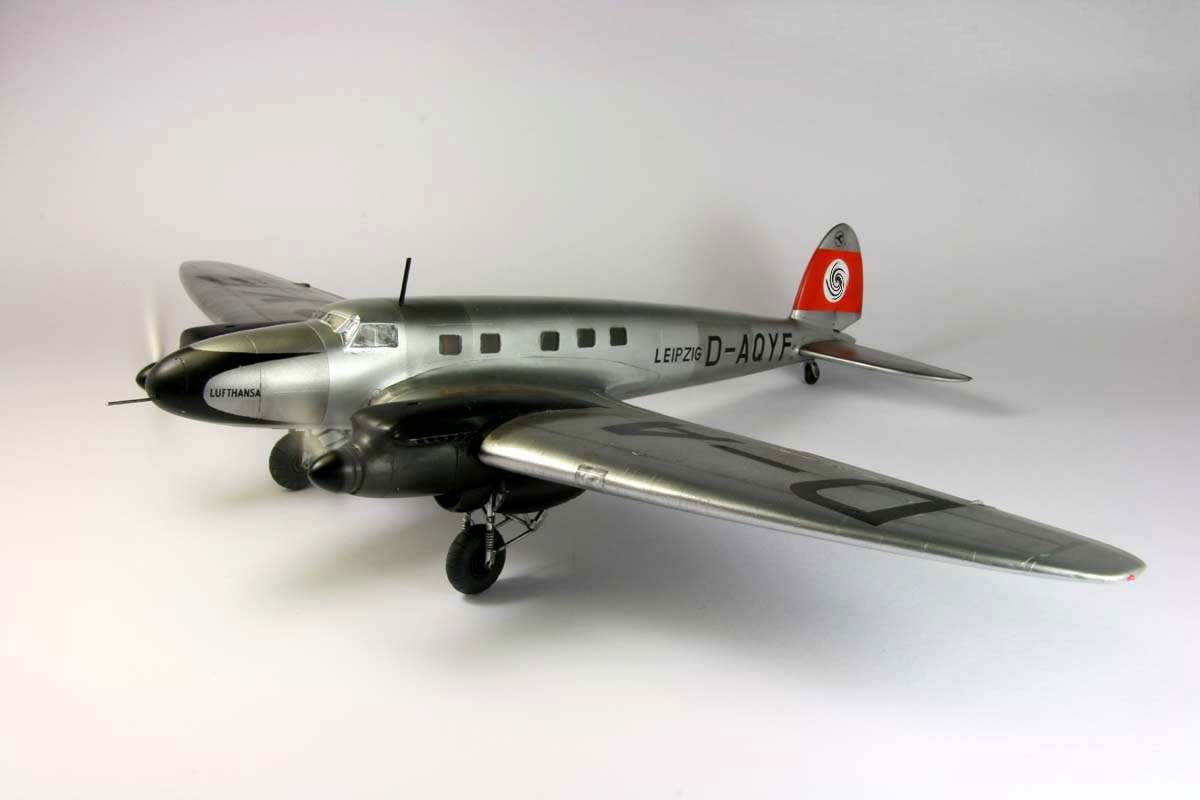
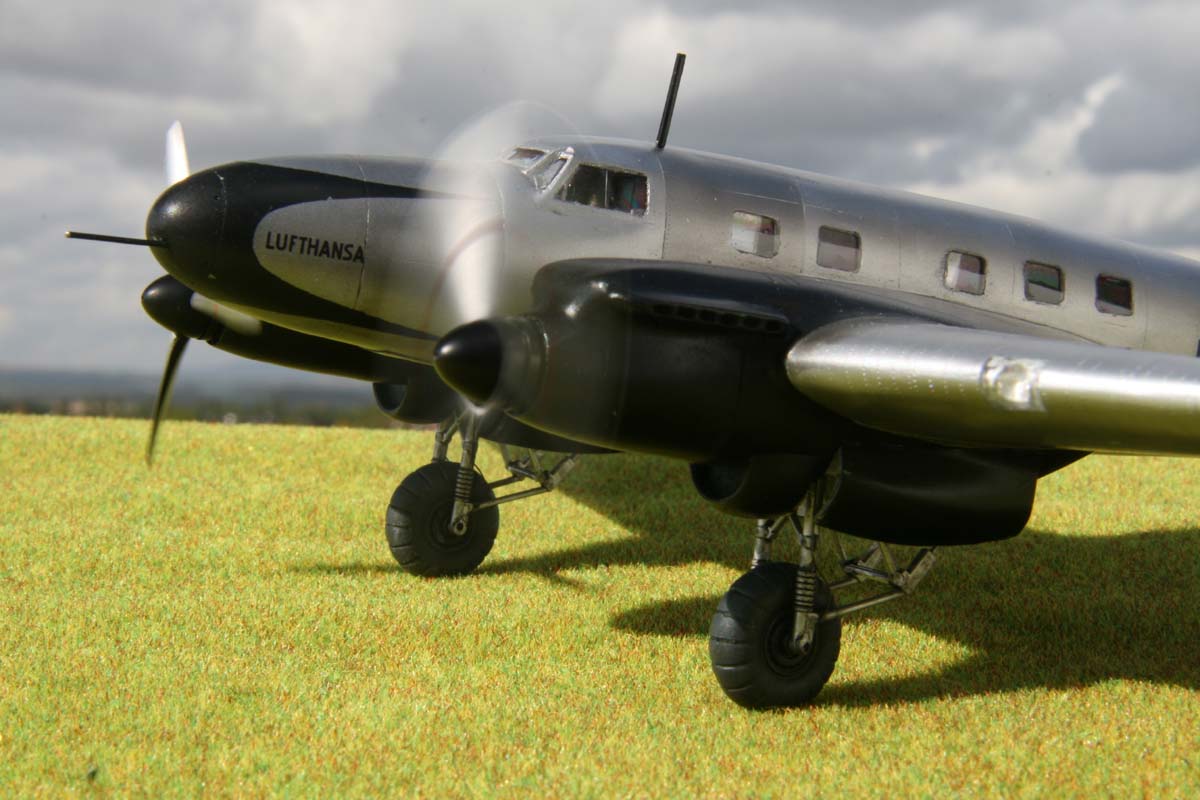
the broad red stripe was added. FinishThe kit is equipped with two types of Propeller spinners. The early types show the full ones, which probably go along with the BMW engine (so to be seen on the only picture of the D-AQYF available to me). I decided to use these in the end.The decals are somewhat tricky to use, as they would not set. As experienced on some recent kits of eastern-European make, the decals are immune to all known setting fluids. Due to the relatively large decals which had to be applied, I had to use plenty of water, and the glue got washed out, resulting in silvering. Combined with the setting problem, there was just one option left: universal paint solvent, so called Nitro! With utmost care I could remove the silvering and force the decals to set. Some areas had to be re-painted afterwards, though. |
 
|
|
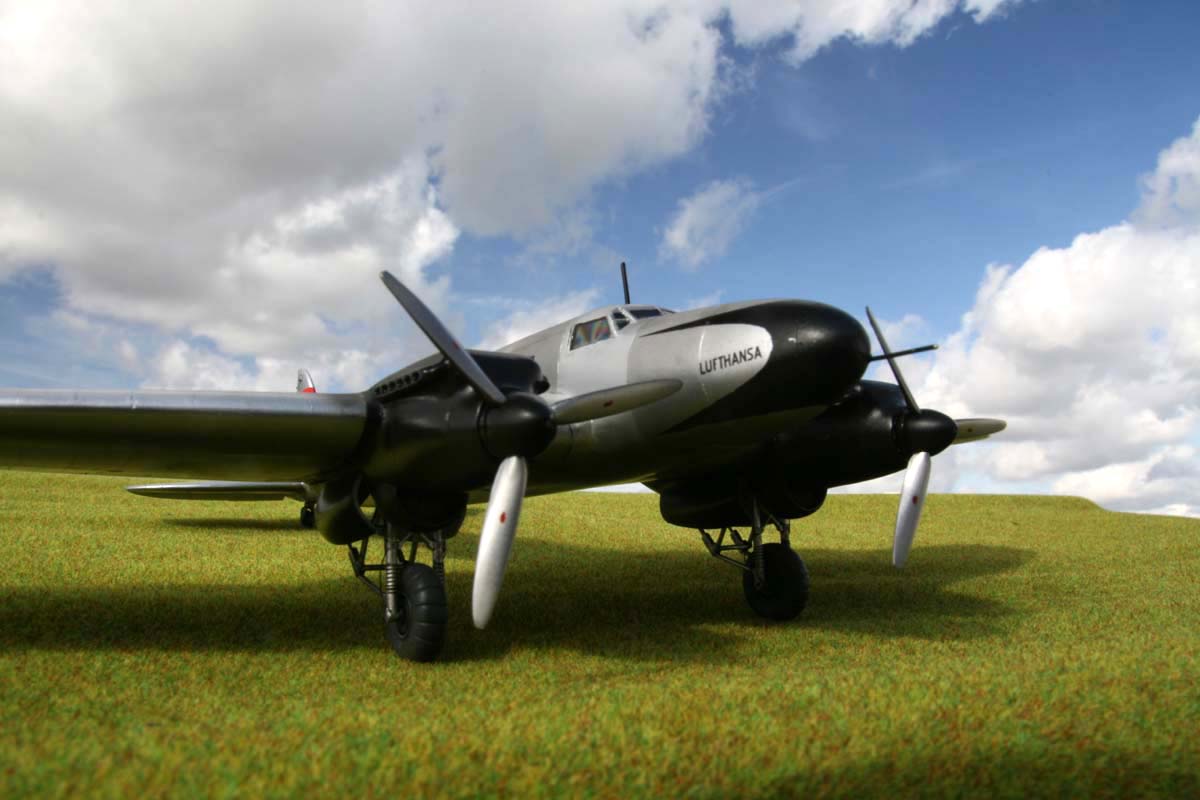
Weathering went as usual with artist oils thinned in turpentine. I didn’t seal the model with Future, since that would
impair the effect of Alclad. Luckily, the regular Alclad can stand the turpentine (not so Alclad’s “polished Aluminum).
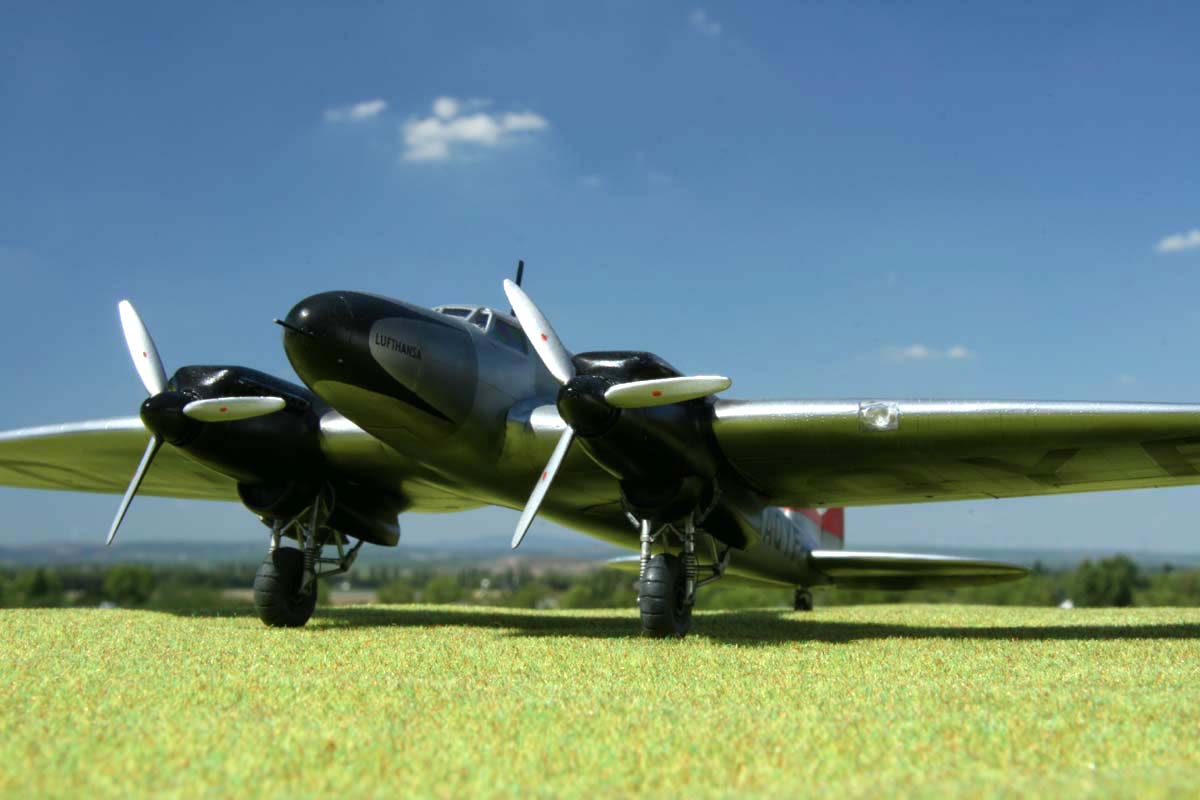
Exhaust traces were applied with Tamiya-Smoke. Final coat came in selected areas with minimal application of X-tracolor’s flat clear. As last touches an antenna, pitot tube and scratch built position lights were added. All in all a lot of work for a relatively plain model. Still, in spite of some deficiencies it shows well the refined elegance of the original, which in my opinion was lost on the much more famous (or notorious) bomber variant. |
|
 |
 |
 |
 |
 |
 |
 |
 |
 |
 |
 |
 |
 |
 |
 |
 |
 |
 |
 |
 |
 |
 |
 |
 |
Frankenthal,
November 2008